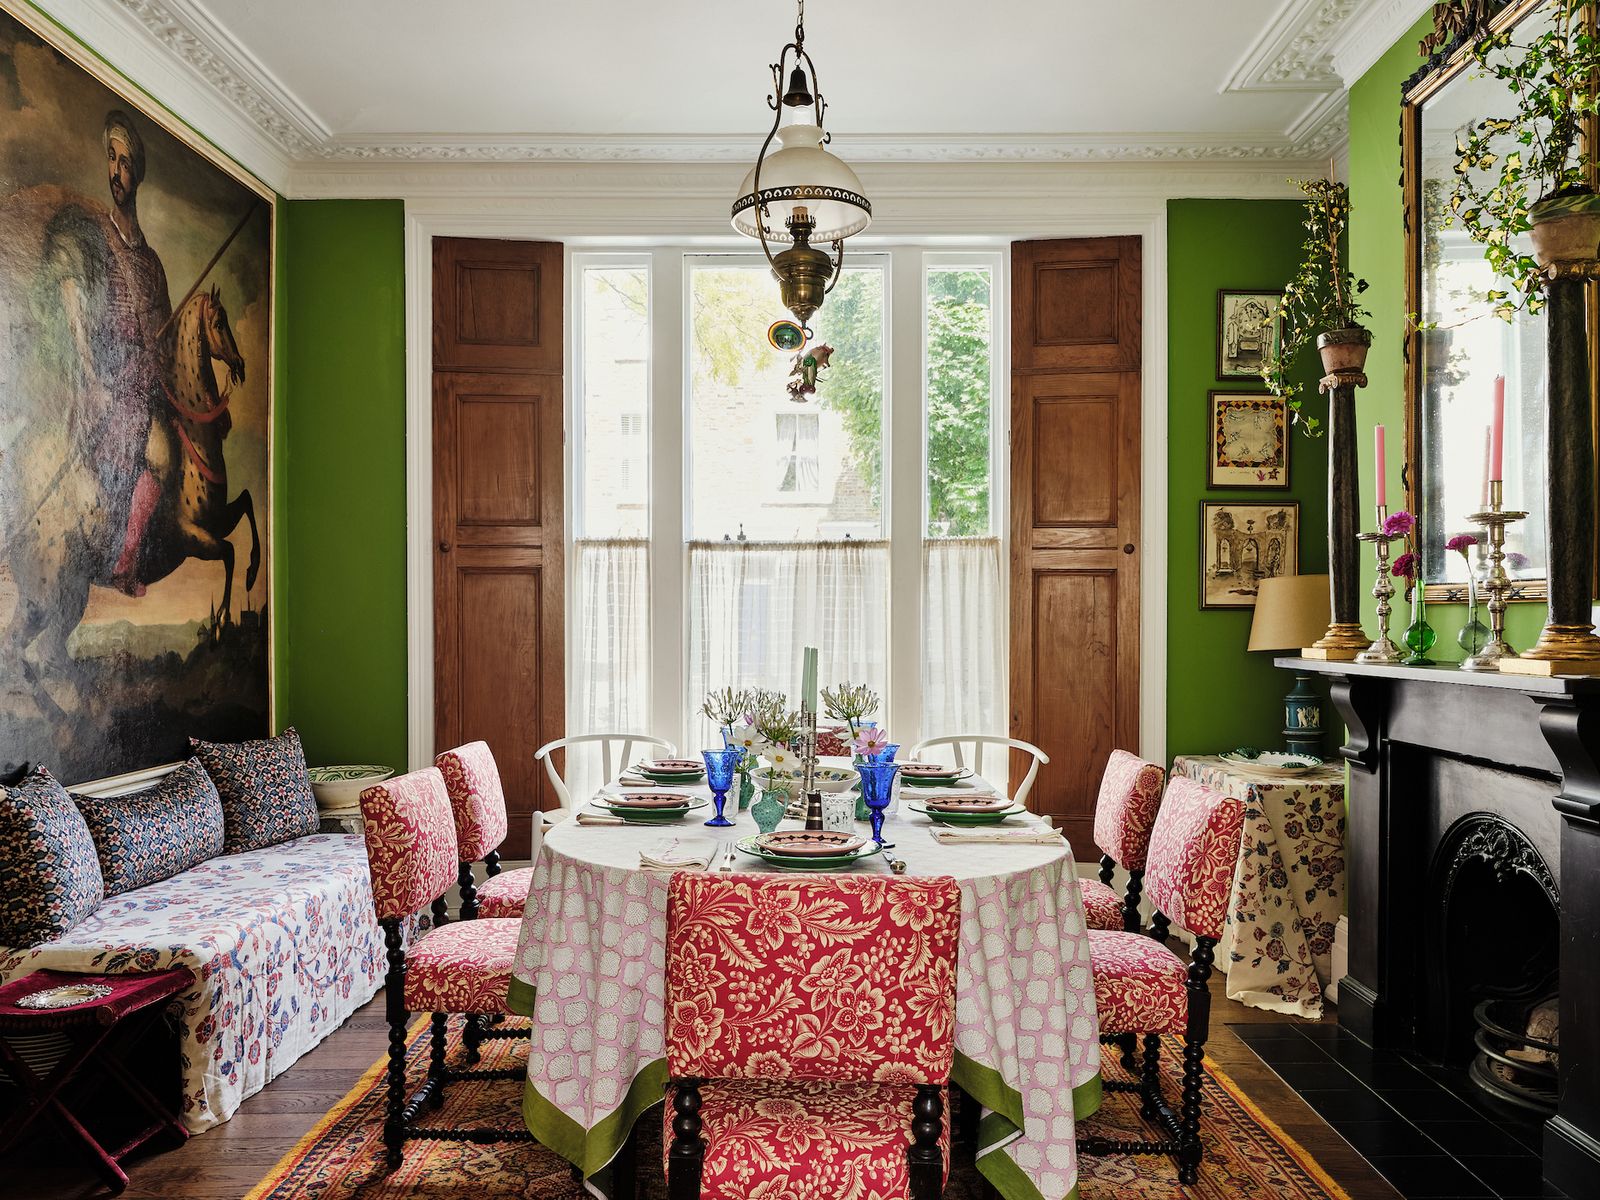
Once the reserve of pretty French bistros, café curtains have become a staple of city homes of late as a way of screening out prying eyes while letting a lot of light in. These gauzy half curtains cover (usually) the bottom half of a sash window, allowing uninterrupted light from the top and filtered light through a sheer fabric on the bottom, all while keeping the interiors of your house from passers-by. They're beautiful, but incredibly practical – and so easy to make yourself. A recent evolution in the café curtain genre has been a move to put gathered curtains on cupboards in the place of traditional wooden panels, something interior designer Octavia Dickinson loves to do. She shares her ultimate DIY guide for adding these fanciful touches to your house, so no matter your DIY level, you too can have the sweetest curtains around.

Octavia Dickinson on how to DIY cafe and cupboard curtains
- Fabric
- Scissors
- Pins
- Measuring tape
- Curtain rod or wire with hooks
- Curtain brackets
- Screwdriver
- Sewing machine or invisible hem tape
- A spirit level
- Curtain rings (if you're having a pencil pleat header)
- Curtain hooks (if you're having a pencil pleat header)
- Decide where you are planning on having the cafe curtain.
- Work out if you are hanging in a recess or on the outside of the window or area and what you are attaching it to.
- For example, if it's a gathered curtain round a basin, you'd attach it with velcro or if you are going across the basin within a vanity, then you would use a wire and hooks.
- If the cafe curtain is within a wardrobe or cupboard, you may need to add a small piece of wood either end of the cupboard so the fixing has something to attach to. It does also depend on whether you want to open and close the area or not. If not, then the wood may not be required.
- Decide on the design you would like. Options are: gathered, slot headed, triple pinch pleat, additional pelmet, and you will also need to decide if you want it to open in the middle or at the sides.
- Once you have measured where it's going you need to measure out the pole or wire on which you will hang the curtain.
- Work out where you want the top to start and the bottom to end and where you want them to attach to e.g. poles or rings.
- Measure how full you want them to be. For a softly gathered cafe curtain I usually aim for between x1.5 and x2.5 the width of the area.
- It is important to check the fullness, as certain headings need more fabric than others, eg: pencil pleats need less than triple pleats.
- Lay out and cut your fabric (the right way round)
- Then sew by hand or with a machine, or you can buy iron on hemming tape. You will need to add your curtain heading tape at this point too, if you are using it.
- Once you're done with the header, you can stitch the hem, or iron, if you are using the hemming tape.
- Apply to the pole and hang!
Decoration Editor Rémy Mishon's top tips
- You want to make sure your tension wire is taut, and you must remember to take into account how much the hooks attaching to the tension wire in your woodwork will protrude when measuring out the width of your window. Bare in mind it will sag once your curtain is on there so cut the wire shorter than the width of your space. I do this by eye once hooking up one end and stretching it as much as possible.
- If you are using fabric per metre you want to take some factors into consideration. Do I want it ruched and gathered? If so you’ll want more width, a third more for a light gather and more for more.
- Hemming! You’ll need a hem at the bottom and a channel at the top for your tension wire – make sure your channel is wide enough for your hook to slither through if you want to be able to slide it on and off for the occasional wash.
- If you want a real unprofessional cheat's tip, I’ve bought the lightweight sheer curtains from H&M time and time again for rented properties where I just needed something temporary. The width has always been perfect for the windows with just the right amount of gather for my purposes. I then slice it in half. You’ll have two channels ready to go – one of theirs and usually you can use their hemmed end by unpicking a couple of stitches. You can then just hem the frayed ends and you're hot to trot.