There is no human urge more primal than building a fire. It was after all, the discovery of fire by by our very ancient ancestors that catapulted the evolution of the human race beyond less sophisticated mammals. Ever since, fires have been places of sustenance – of cooking and eating, as well as gathering round, telling stories, and staying warm amongst our kin.
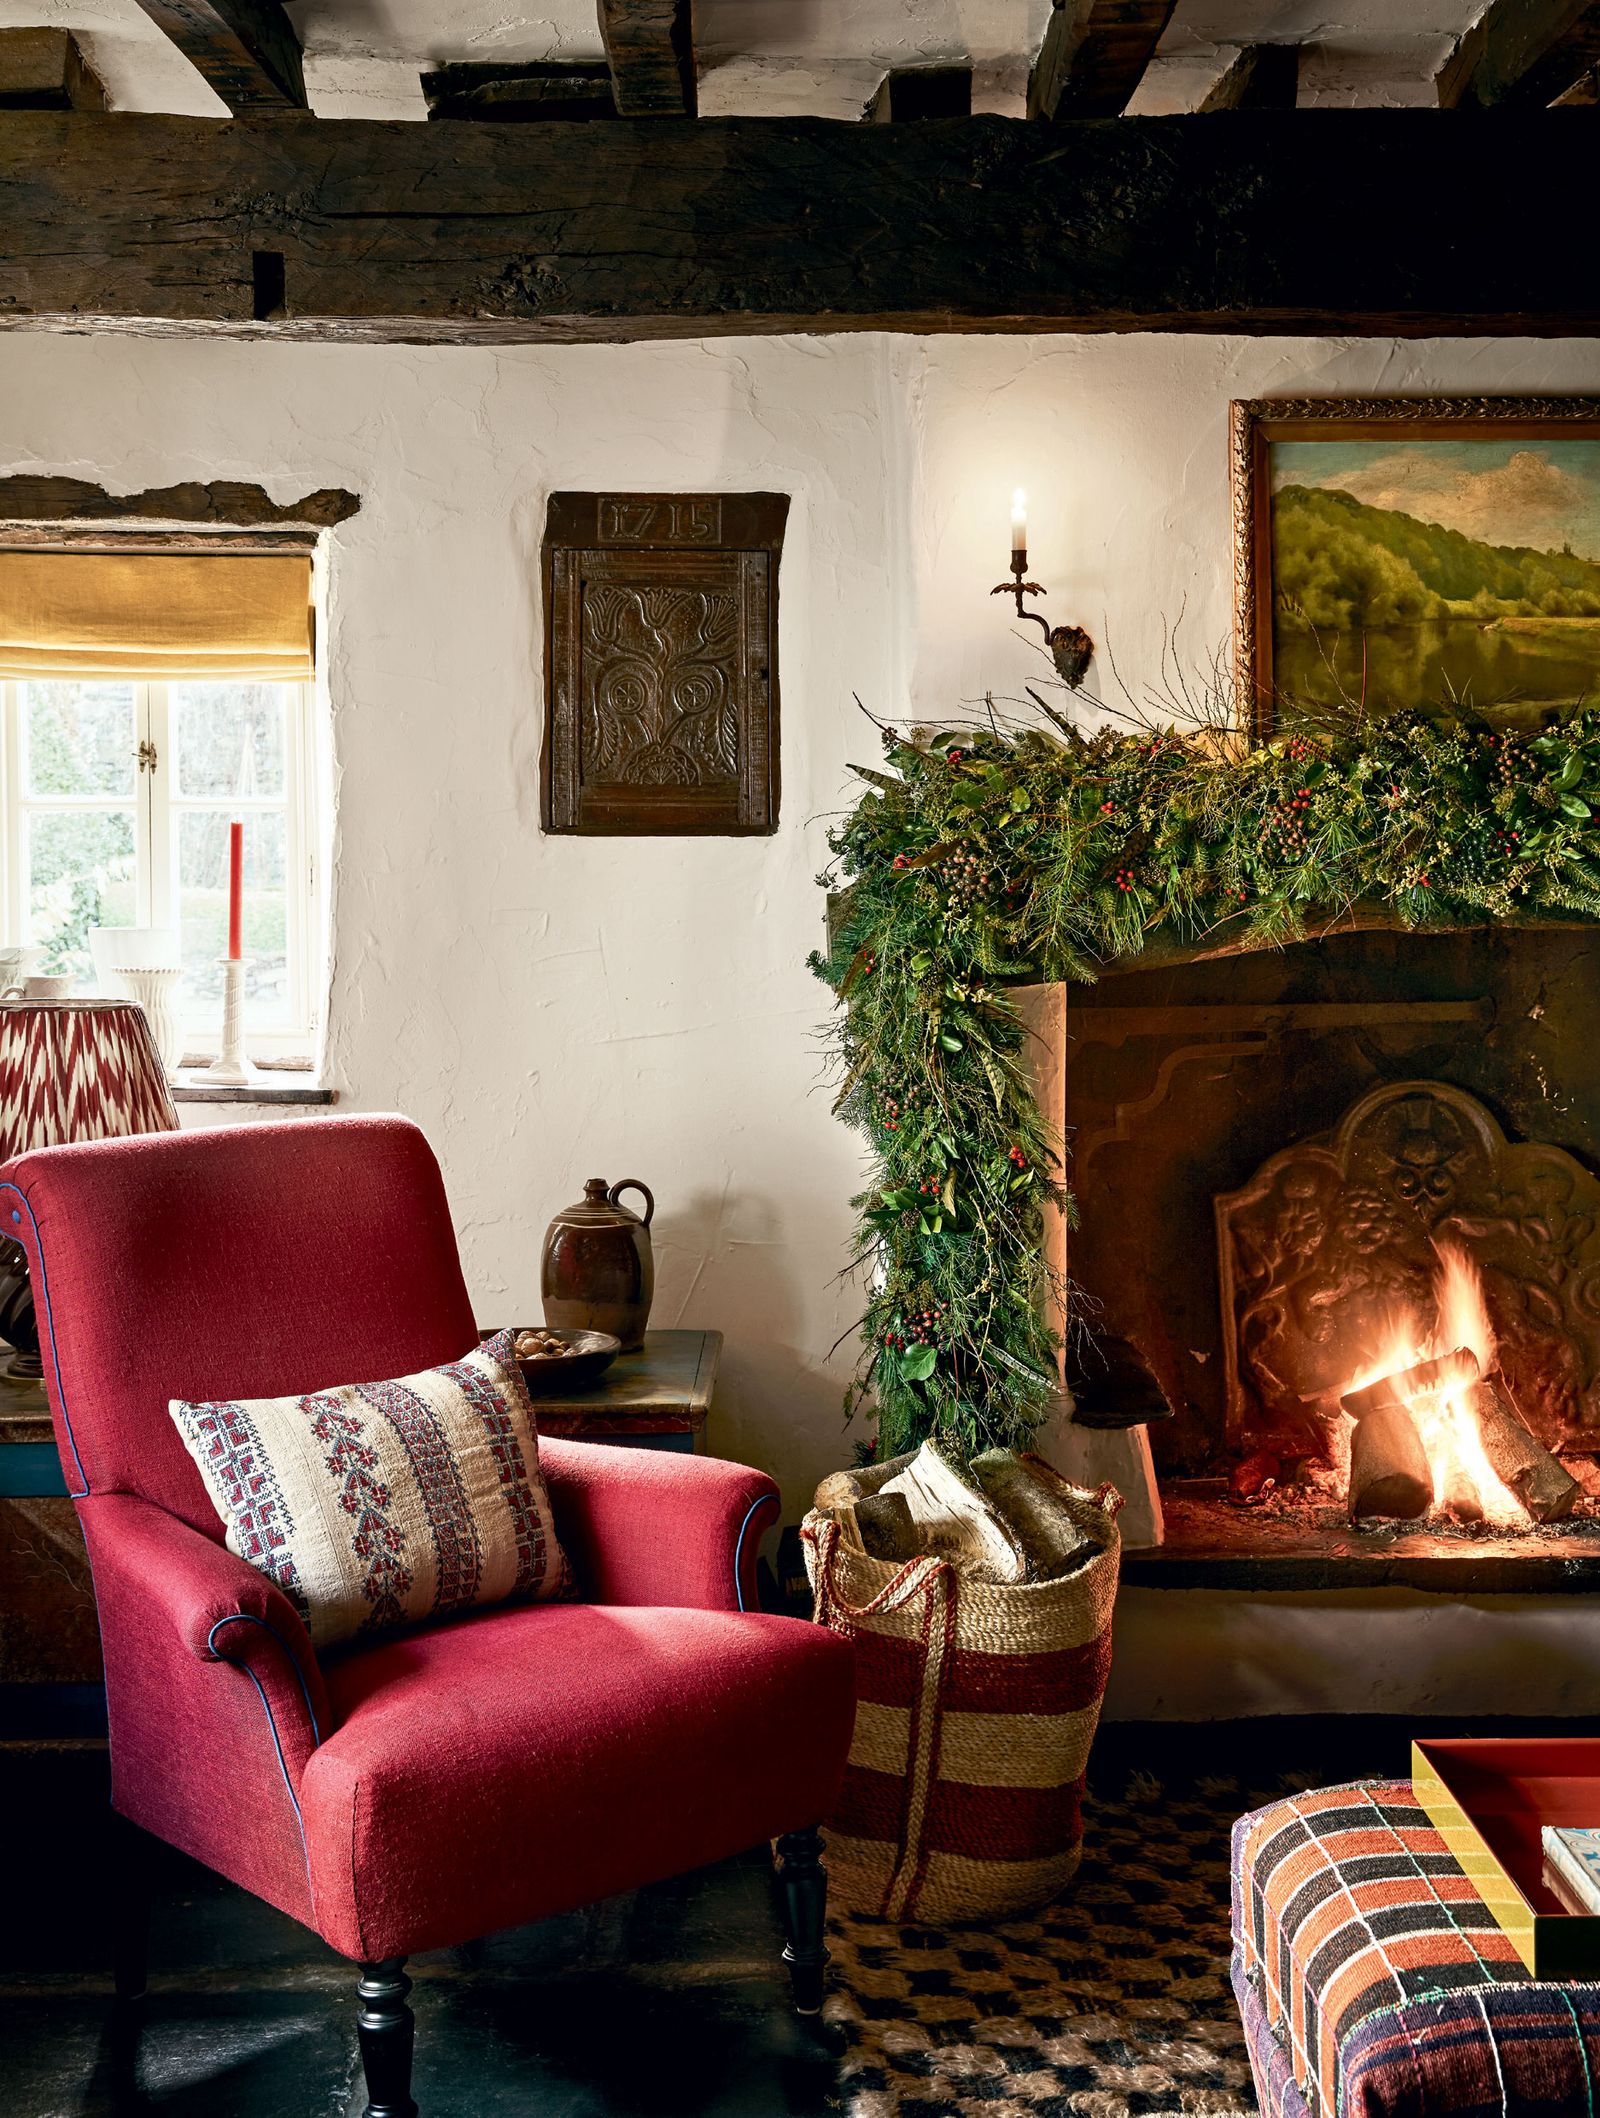
December is a time of year where creating such warmth is particularly important. Even before the establishment of Christmas, with the Winter Solstice (officially next Wednesday), this time of year used to mark the pagan festival of light, and Jewish and Hindu communities also celebrate the holidays of Hannukah and Diwali (also closely associated with light and burning candles) around this time. With the festive holidays coming around, friends and family's are as always coming together, and the easiest way to transform any room is by lighting a fire. And, with a cost of living crisis to contend with, this year a good old fashioned fire is really coming into its own. But whether it's a traditional hearth, a wood-burning stove, or an outside campfire or fire pit, here's how to make a fire that will keep on burning, and some dishes that you can cook upon it.
How to build a fire for a fireplace
- For your classic built-in fireplace, the first step is to make sure you have a flow of air (ensuring the fireplace air vents are open) and that your materials are dry (you can dry out logs and kindling in advance by putting them in an electric oven, an airing cupboard, or a warm dry place. Your logs also need to be dry in the sense that it isn't new wood – neither green or freshly cut (this will contain too much moisture and not light as easily).
- Kindling is where it all begins – these are small branches, dry twigs or broken up pieces of wood (you can, of course buy them pre-cut). Dried orange peel and pine cones also work well as kindling.
- Your fireplace should have a grate on which to place these. There is no hard and fast rule about how to arrange them, but it is usual to create a wigwam or jenga-like construction with them if you are using pre-cut kindling or twigs.
- On top of the kindling add a couple of your dry logs, also zigzagged or jenga-style – this is to make sure there is air around the fuel so the fire can get started. Also make sure it is structurally sound, and that the logs won't roll away!
- Then grab some newspaper (also dry). Rip up strips (also allowing maximum air) and stuff these underneath the fire grate.
- You can also start with just the kindling and newspaper, and add the logs once the fire gets going.
- Light this with a match - and watch your fire get started!
- During the fire's lifetime, keep stoking it (this is to add air and make sure the flame stays lively).
- Add new logs when the fire starts to die down and is no longer blazing. Move the new log around (again allowing air into it, and allowing it to catch the flame).
MAY WE SUGGEST: Five inventive ways to DIY a fireplace
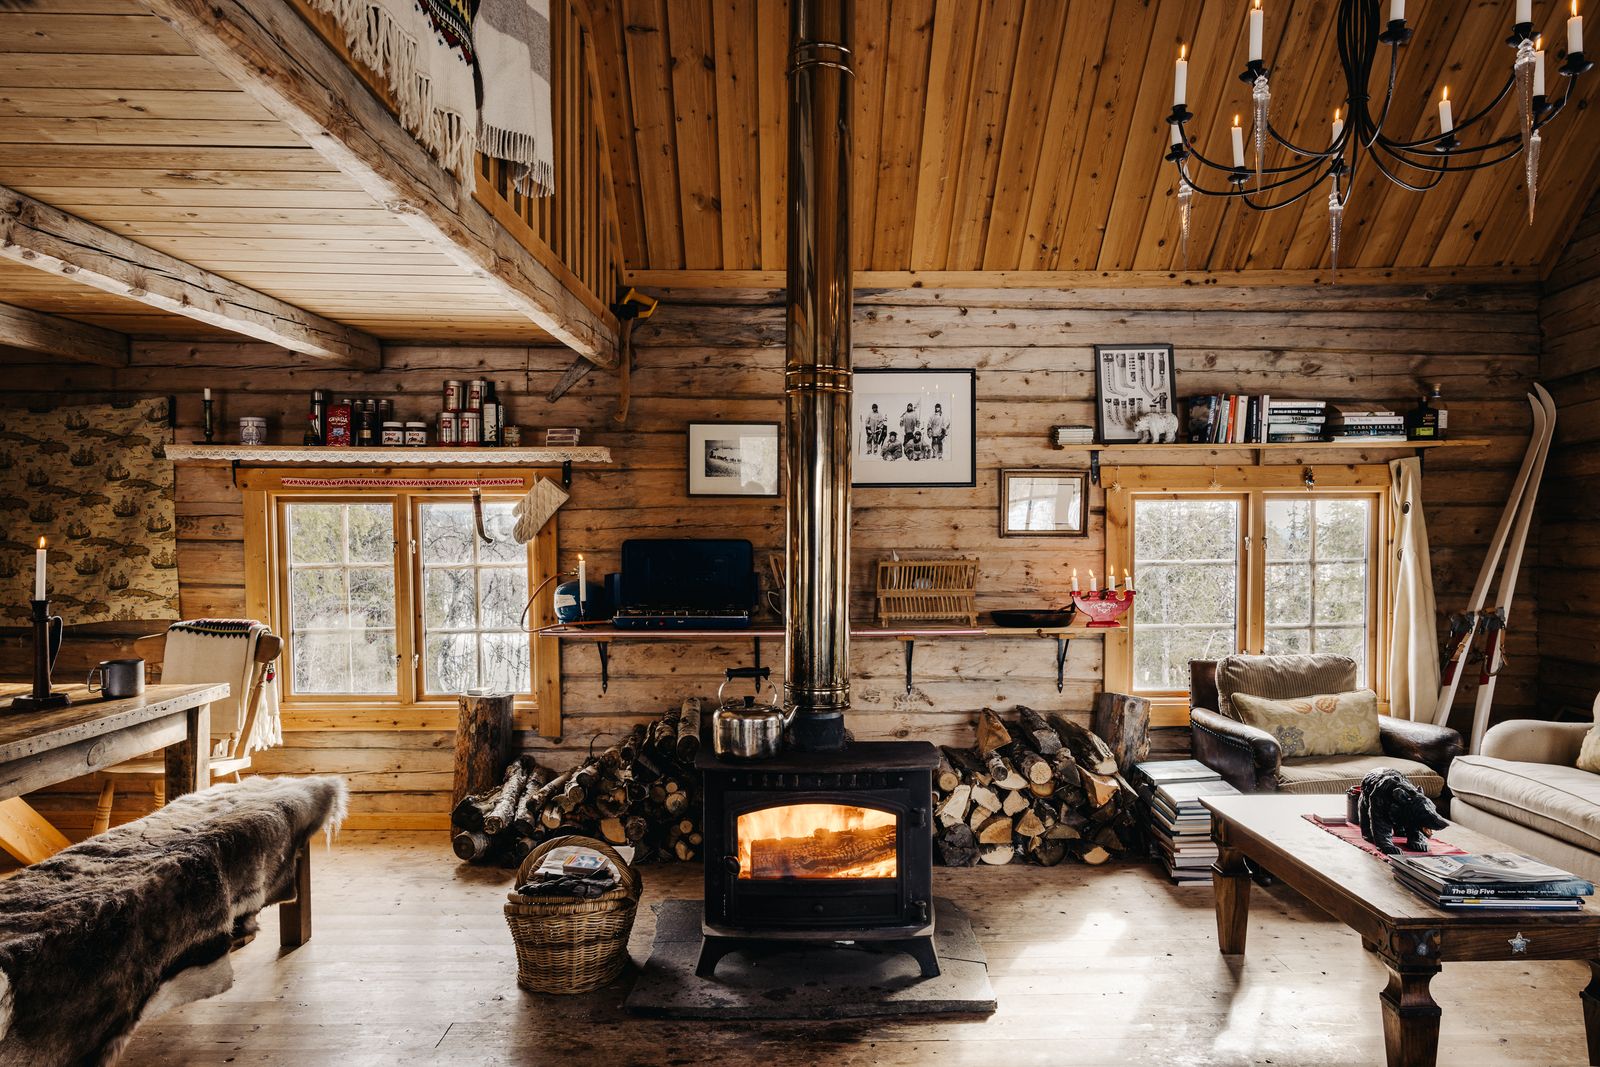
How to start a wood burner
The main benefits of a wood burner are their efficiency – up to 80% of the fuel is converted in to heat, with 20% wasted up the ceiling. With a traditional fireplace – whilst definitely adding more ambiance, can reportedly be only 20% efficient. Although the theory is more or less the same (fuel plus oxygen etc.) but when it comes to wood burners the technique is a little different.
- Read the instructions! There is differentiation between each model of wood stove, so make sure to read up on the specifics first.
- Open the valves – there is normally an open/close switch. Make sure this is set to open as this will allow the always important oxygen to flow in. Some have a secondary vent at the top, which should also be open.
- Open the stove and place scrunched up newspaper and surround it with a small pyramid of kindling (as above).
- Light the newspaper under the kindling in a few places, leave the door open whilst the fire gets going (this also helps the air flow).
- Then add the logs, smaller ones on top, placing them one at a time. Keep the door open for 10-20 or so minutes and then close the vents to limit the airflow.
- When the logs turn into embers add more logs.
- If there is excessive smoke let or blow more air in until it burns cleanly.

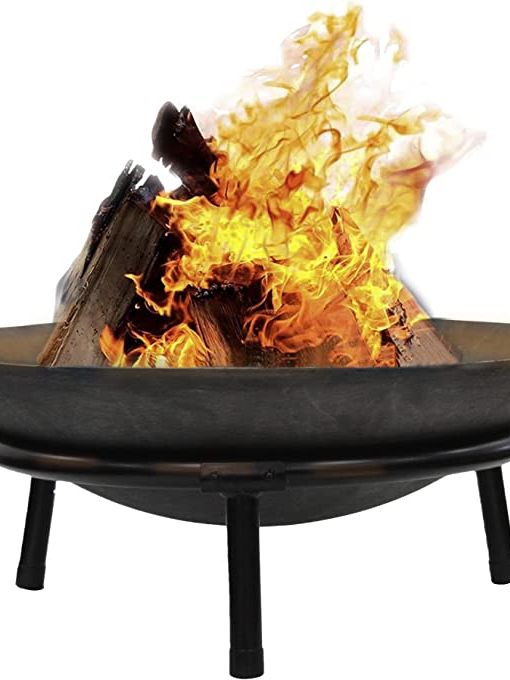
How to build an outdoor fire
If you're feeling really grizzly, then consider setting up a campfire or fire pit – the perfect way to enjoy the outdoors, even when the mercury has dropped.
- Safety first! Make sure you have a bucket of water (and a responsible adult) nearby at all times.
- Grab tinder (small twigs), kindling (bigger branches) and your main fuel (large pieces of wood) – all dry.
- Put a few piles of your tinder in the centre of the fire pit.
- Add kindling in either a jenga, wigwam or cross formation over and around the tinder.
- Set fire to the tinder with a lighter or matches (discarding the matches into the fire).
- As the fire grows, add more tinder.
- Blow at the base of the fire to add in air.
- Add more kindling and then your main wood fuel once the fire has got going.
- Regularly add more fuel, blowing if necessary to keep it ignited.
‘Chestnuts roasting on an open fire,’ as the ballad by Nat King Cole goes. This is a simple Christmas tradition, and a great way to feel a kind of old-time festivity.
- Buying a specific chestnut roasting pan is possible, but not essential. You can also use a cast iron skillet or grilling skillet. A cast iron casserole dish or old sheet pan can also work. However, do not use anything with teflon or wood on the handle.
- Once you've got your fire going, rinse and score your chestnuts – a cross or a long slit across one side of the chestnut is fine. Discard any chestnuts that look cracked or mouldy.
- Add to pan and hold over the flames. They should be a good distance (2ft) away from the flames in order to avoid burning. You can also create a small bed of coals or logs and put the pan above that.
- Toss them regularly. You can tell they are ready once they show light burn marks and have started to open up.
- Rest for 10 minutes before eating (adding to a brown paper bag for an extra sense of tradition).