How to make Christmas paper decorations
There is always a moment when Christmas, for months a distant prospect, suddenly feels like it is upon us and it's usually when the clocks go back. Christmas lights suddenly peep out of neighbours’ windows and mince pies seem very appealing with a glass of mulled wine to warm you up. While we love a Christmas tree covered with baubles but we're also big fans of old fashioned paper decorations. Luckily, with a little ingenuity, paper, thread and perhaps a paperclip or two, you can easily make stars, rosettes or delicate flurries of snow and trees and windows can be beautifully decorated for little more than pennies.
MAY WE SUGGEST: Christmas decoration ideas
 Bonnie Robinson1/18
Paper rosettes
These double-sided rosettes take a little while to make but the result is so satisfying. You can play around with scale by altering the width of your strips but I think they are most effective when petite.
 Bonnie Robinson2/18
You will need:
Paper cut into 1cm wide strips
Scissors
Glue
Thread
 Bonnie Robinson3/18
Take one of your strips and bend a section into a small cone shape, with the two ends of the paper crossing at the back. You may find it helpful to use the pointed end of a pencil to curl your paper around.
Glue at the back and snip the two ends into a point.
Create 14 of these cones and then start sticking them together. Piece together seven cones to form the front star, glueing them together along the edges.
Gently turn your rosette over and stick the other seven cones to the reverse, glueing them along the backs this time and placing them so that the top points stick out alternately between the points of the star you have already created.
Allow to dry and then attach a thread to hang your decoration.
 Bonnie Robinson4/18
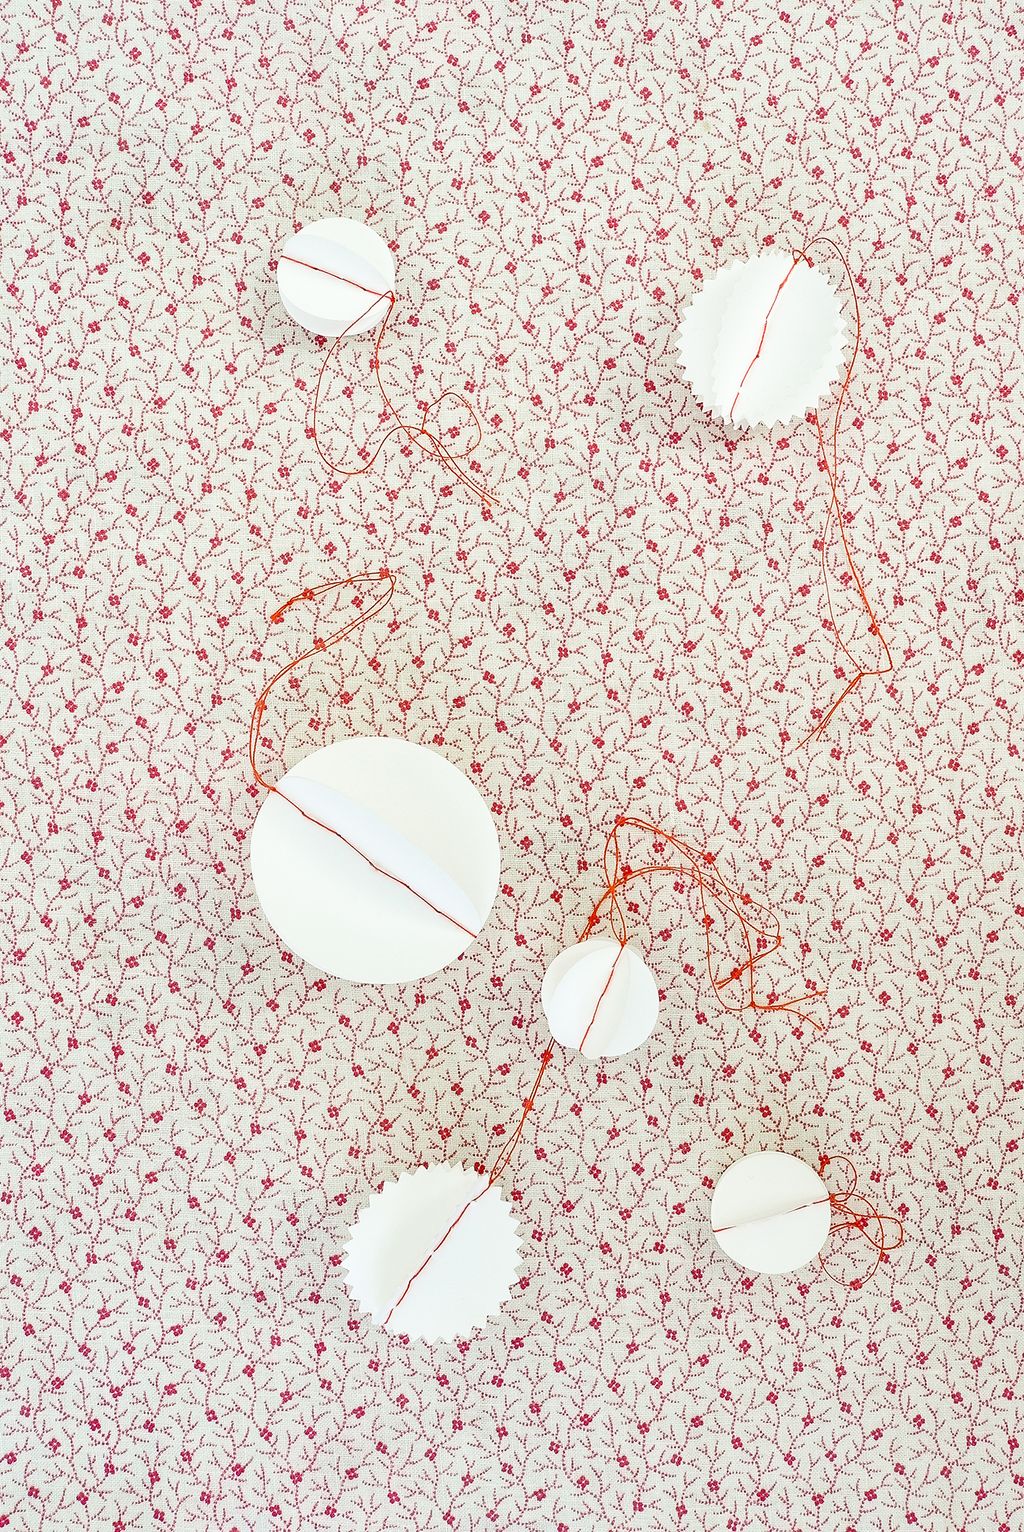
Sewn paper spheres
These are simplicity itself, with a central row of stitching inspired by basic bookbinding. You can make them in any size you fancy and add layers of card to create more elaborate shapes.


 Bonnie Robinson5/18
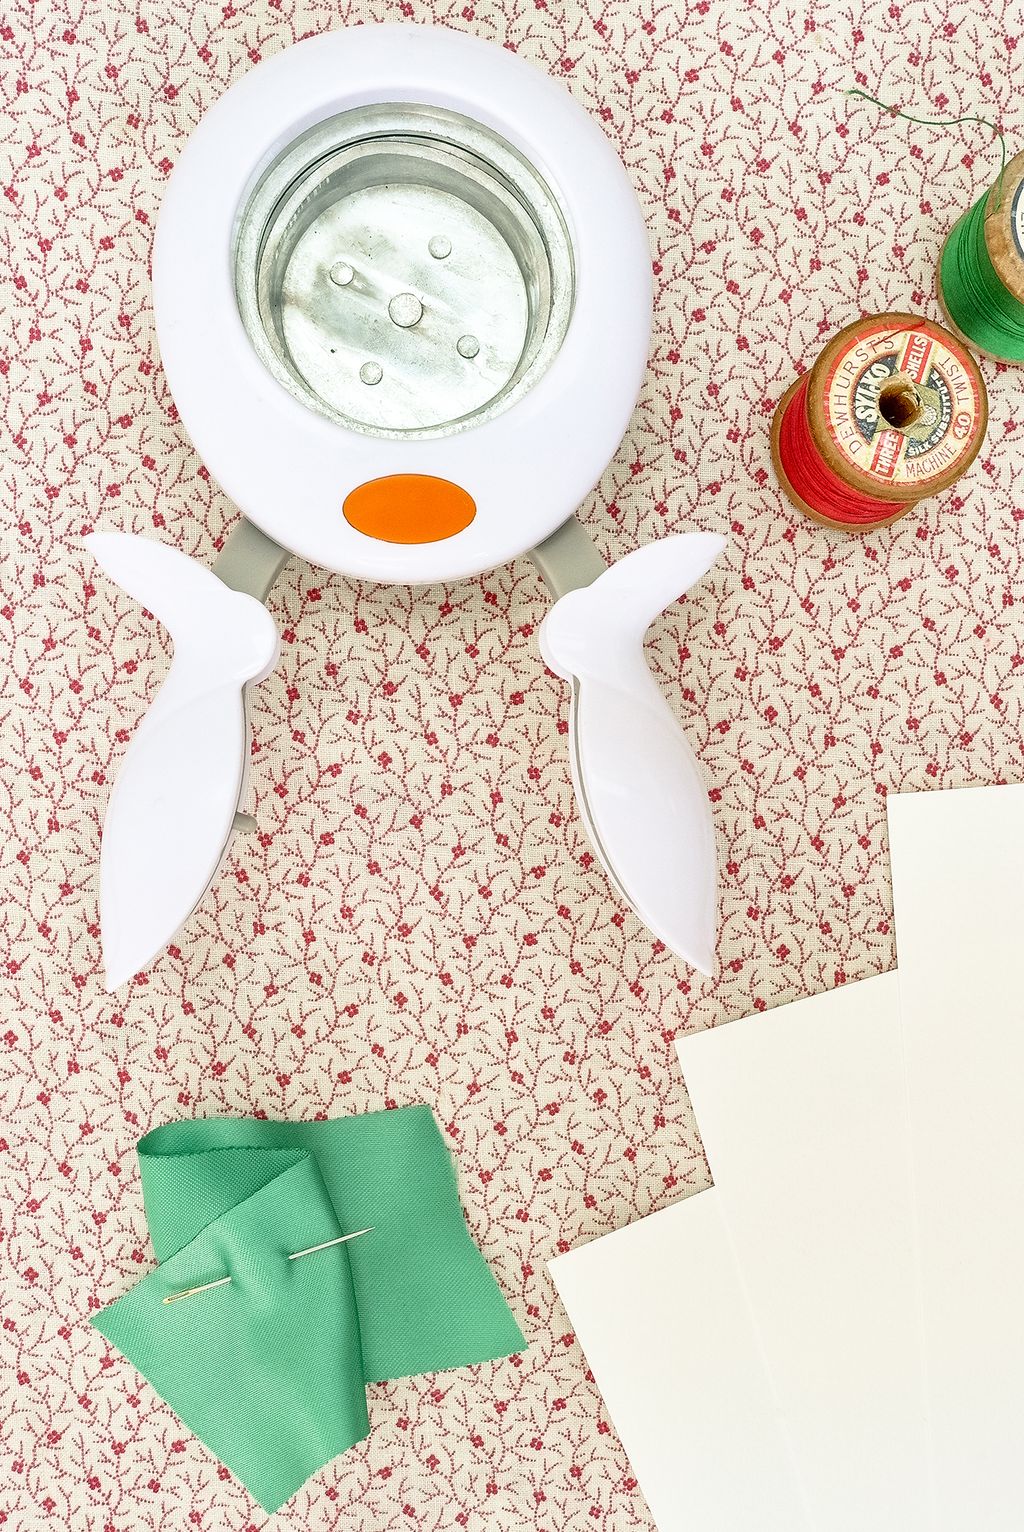
You will need:
Card or thick paper
Circular craft punches or small circular objects to draw around
Scissors
Needle
Thread
 Bonnie Robinson6/18
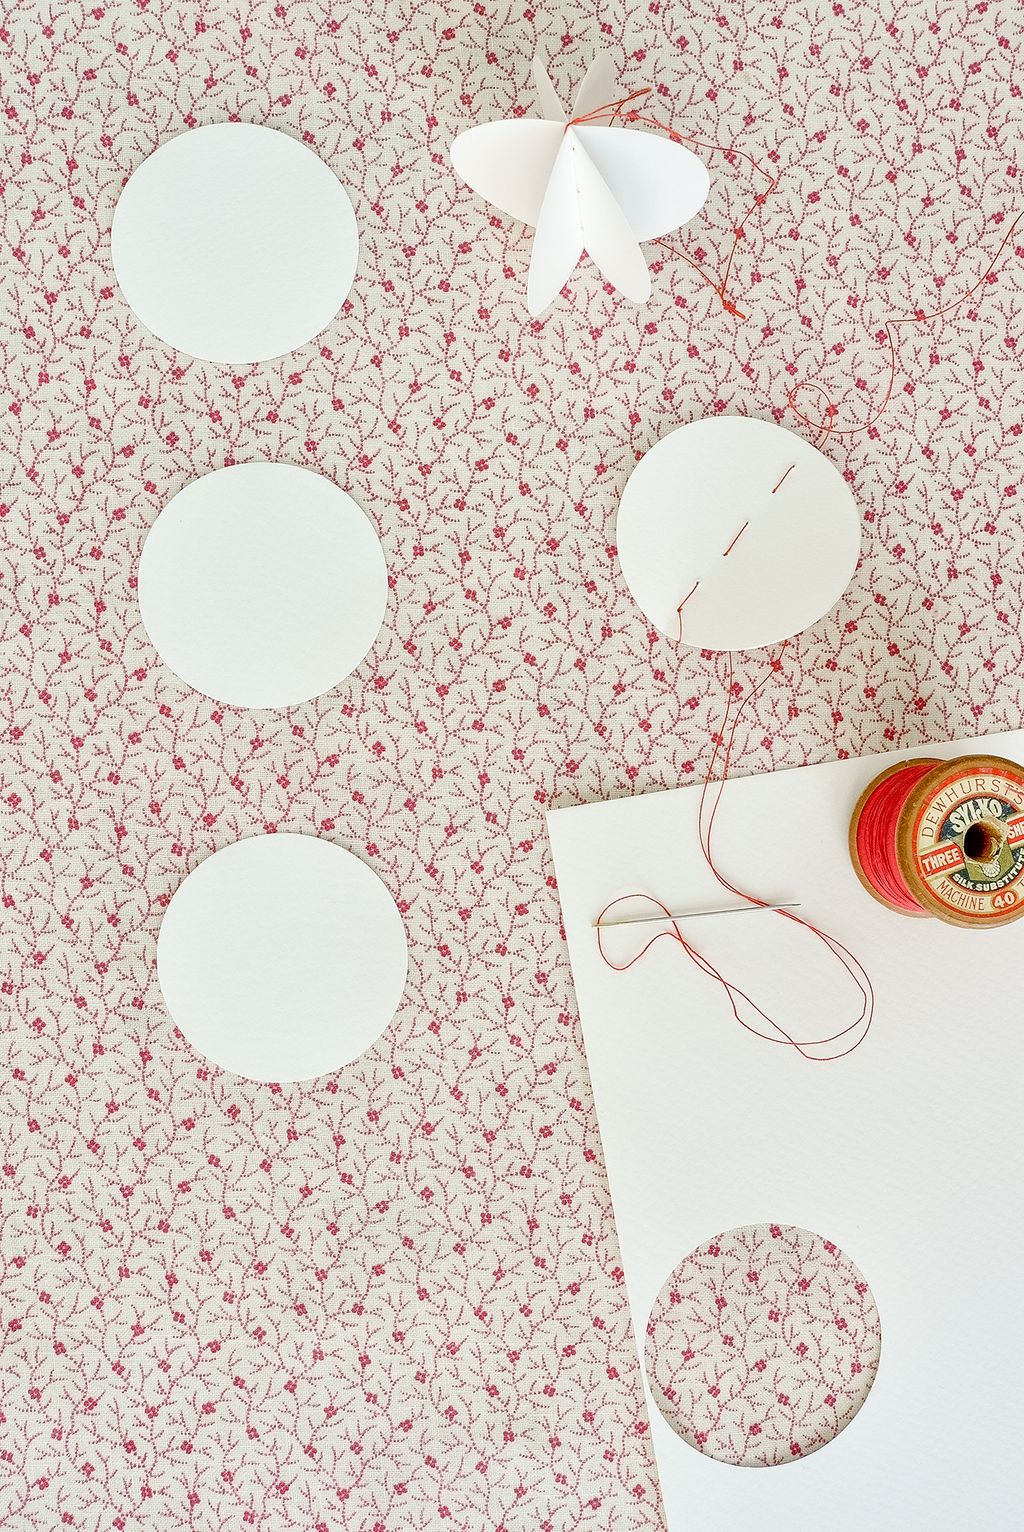
Punch or cut out three circles.
Fold each circle in half and then stack them on top of each other with the folds aligned.
Make a running stitch down the centre, leaving a nice long tail of thread on the side where you started. When you reach the end of your bauble bring your thread around the edge of the paper and stitch in the other direction to create a solid line of stitching.
When you have stitched to the top hold your bauble aloft and cut your thread to match the length of the tail you left at the beginning. Tie a double knot at the top of your bauble so that it hangs straight and then knot the top of your threads to create your hanging loop.
Gently fan out your layers of card to create a sphere.
 Bonnie Robinson7/18
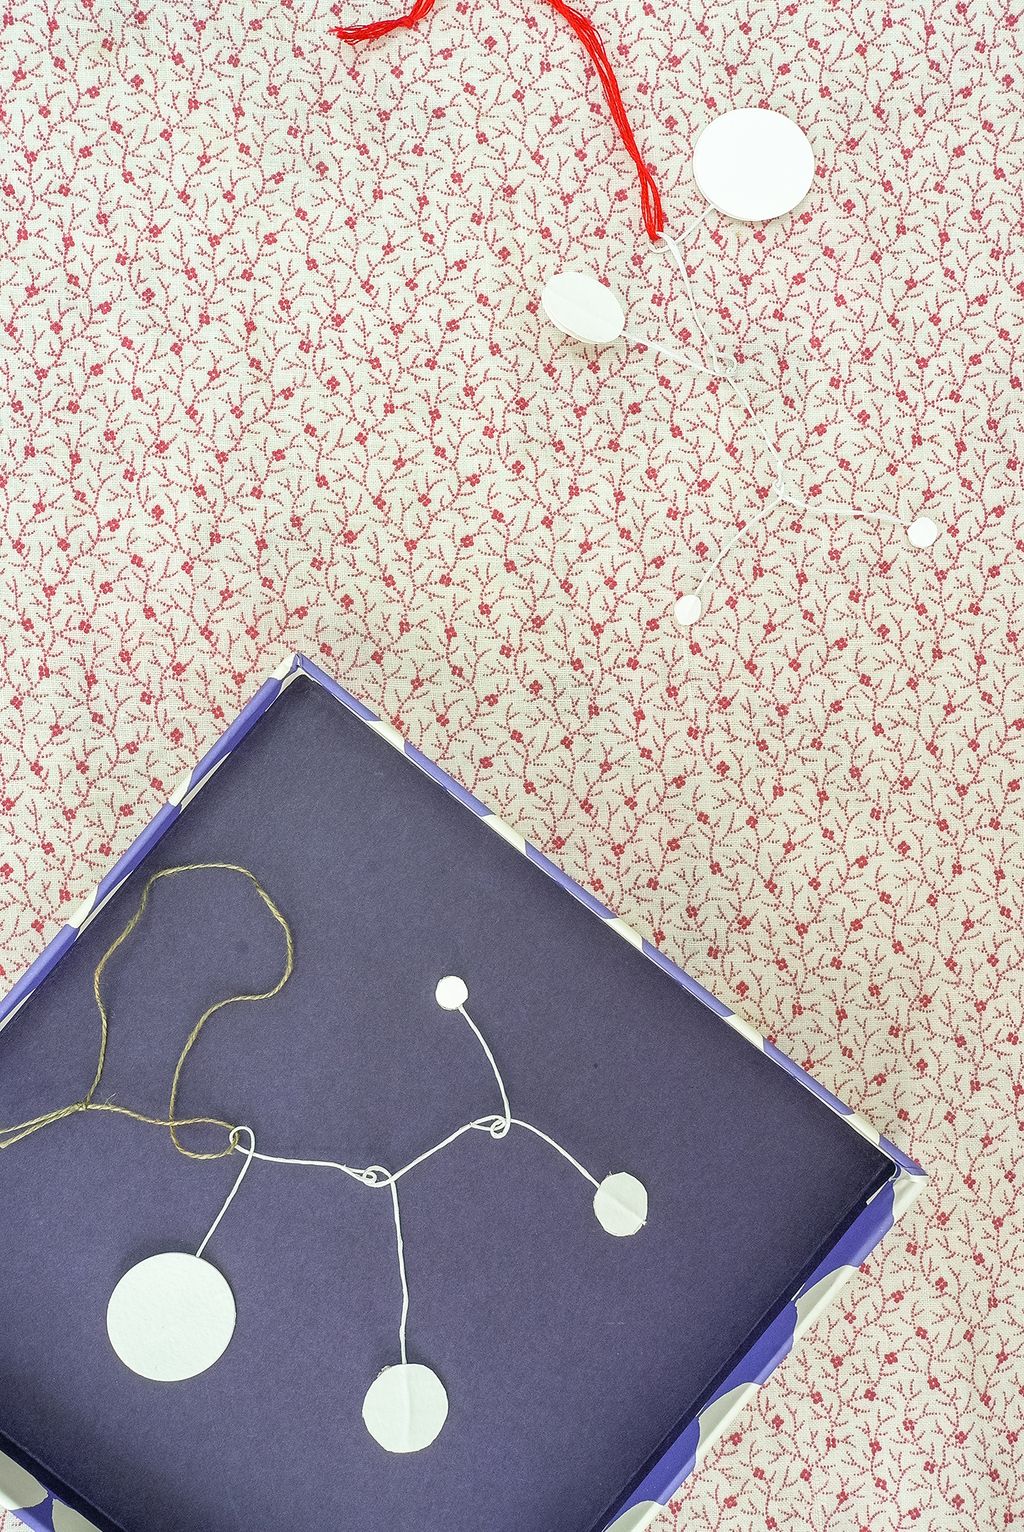
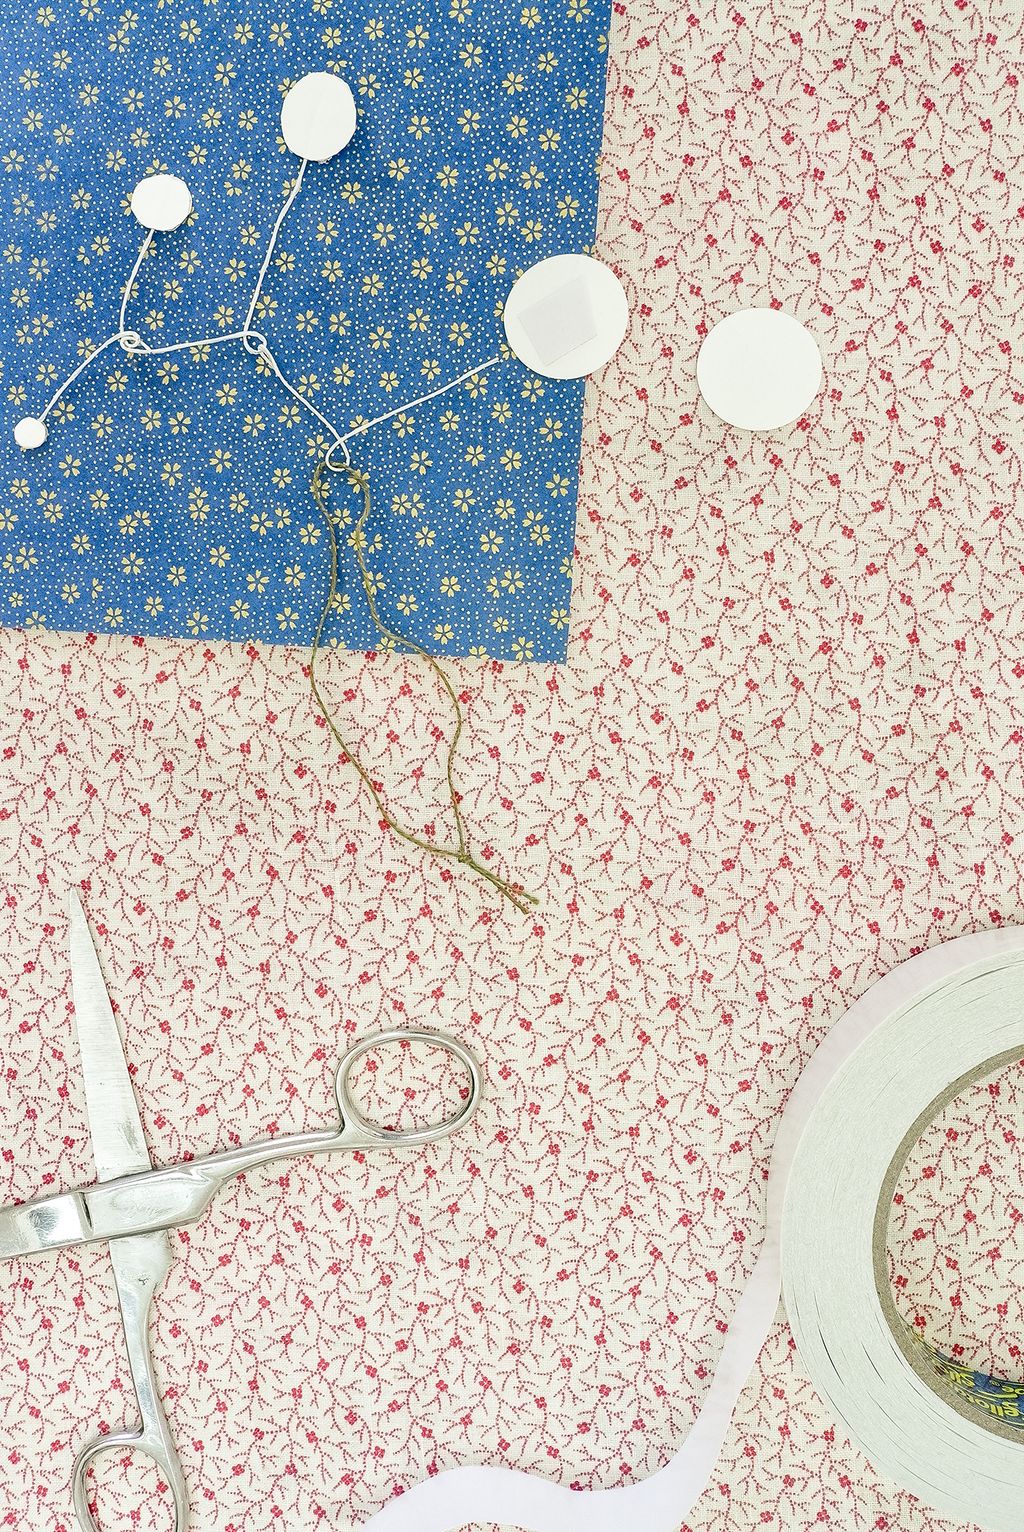
Paper snow mobiles
These are inspired by Alexander Calder’s beautiful ‘Snow Flurry’ mobiles - delicate discs of steel snow which twirl when they catch the wind.
 Bonnie Robinson8/18
You will need:
Paper or card
Circular craft punches and/or small buttons or coins to use as templates
Double-sided sticky tape
Scissors
Florists’ wire or unbent paper clips
Thread


 Bonnie Robinson9/18
Cut out pairs of circles in a sequence of sizes.
Create yourself a wire mobile framework. If you find it too hard to shape your wire by hand you can dig out some small round-nosed pliers.
Stick your circles to the framework, sandwiching your wire between each pair with your double-sided sticky tape.
Attach a thread to your top wire loop as a hanger.
 Bonnie Robinson10/18
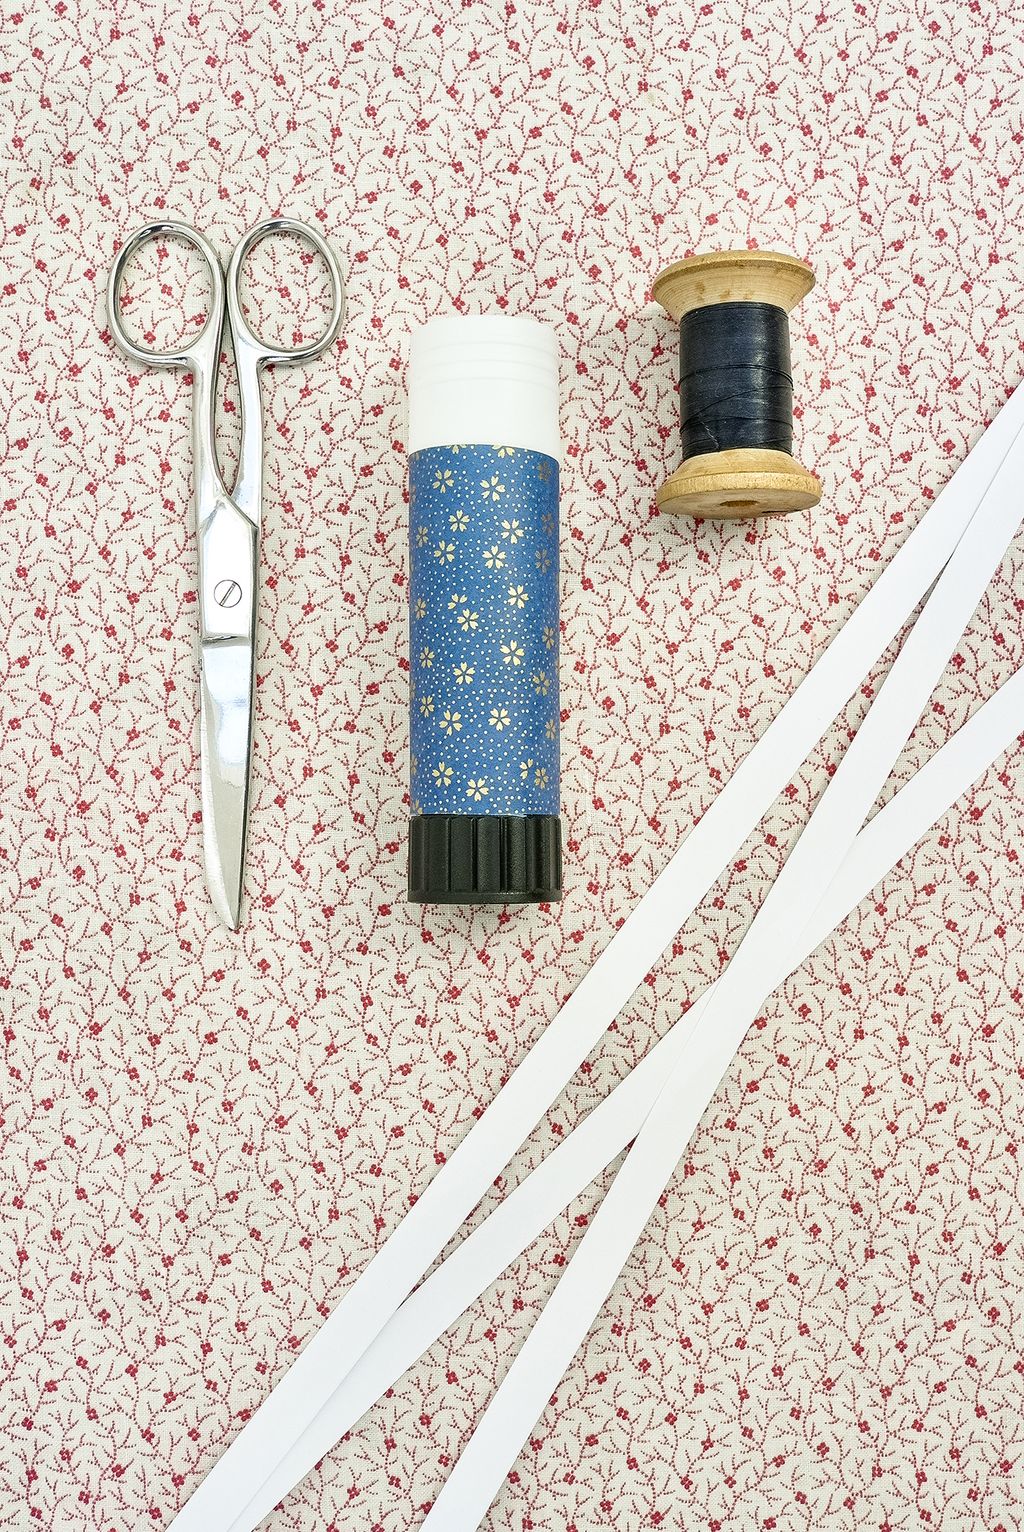
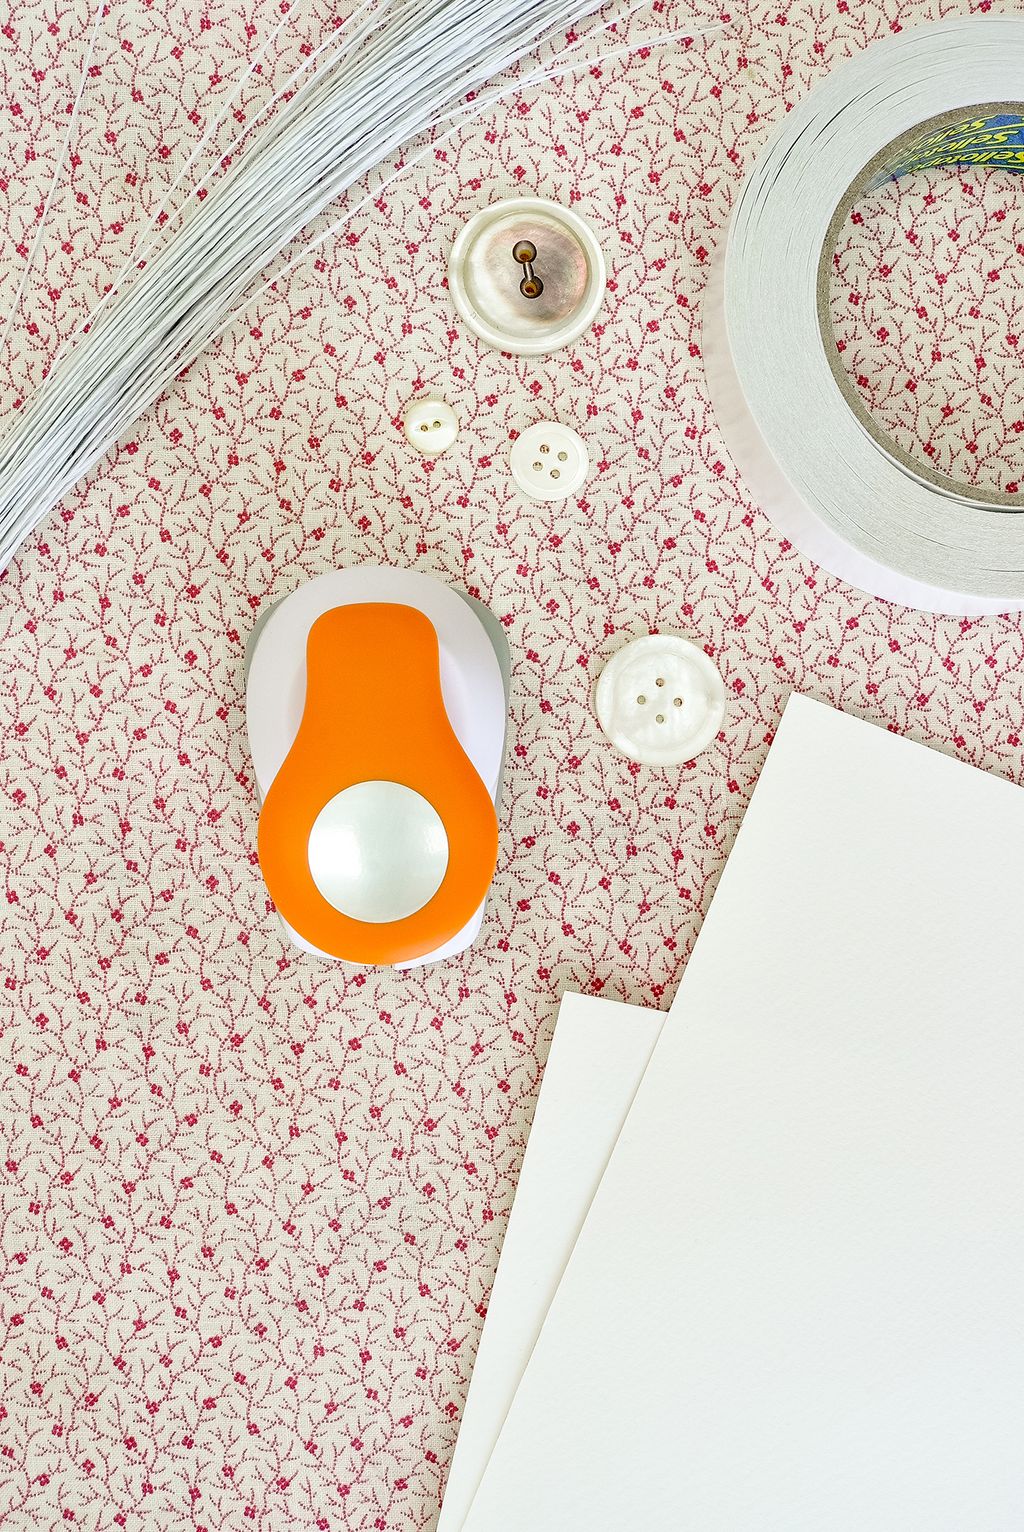
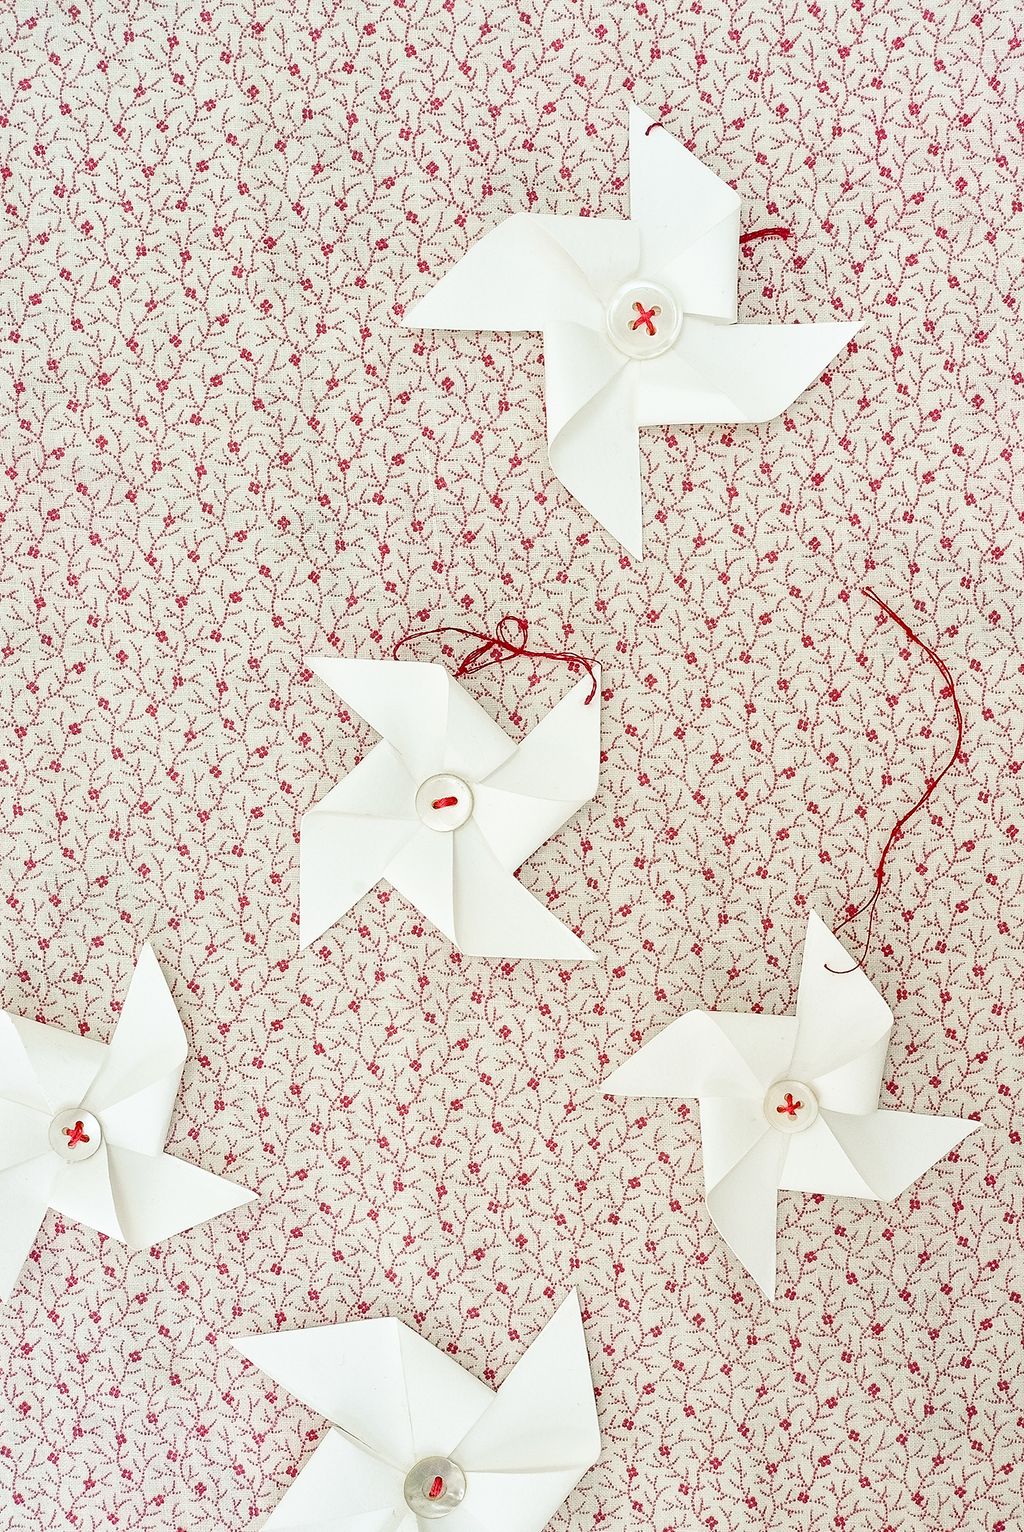
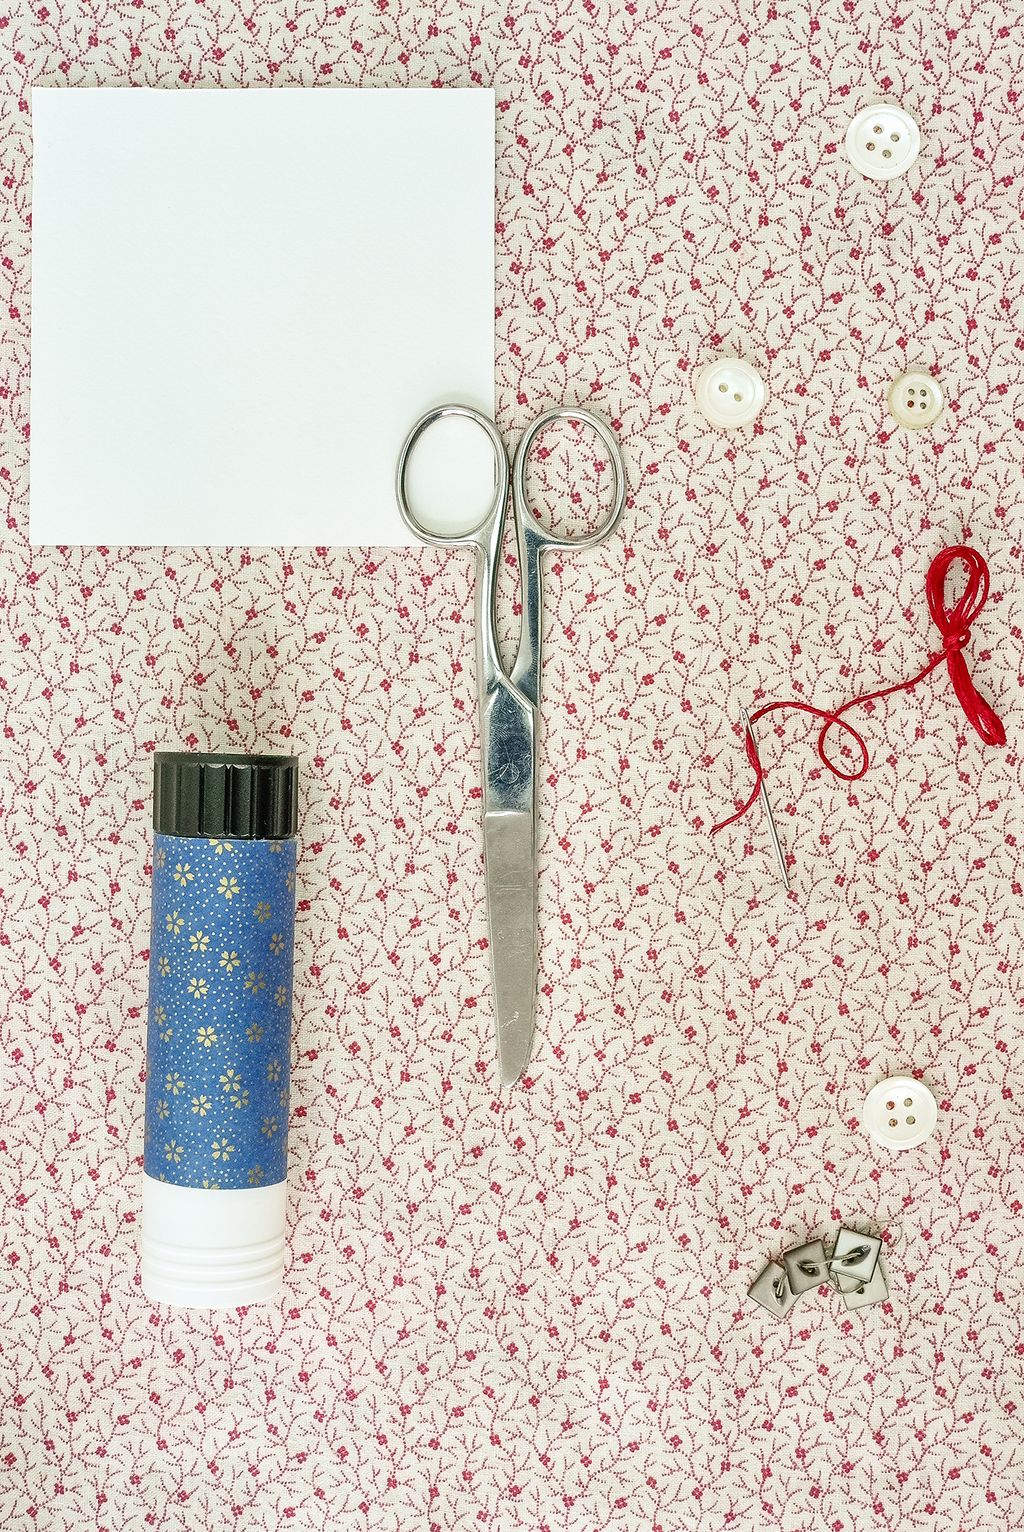
Paper windmills
These childhood favourites look surprisingly sophisticated in cream paper adorned with matching pearl buttons.
 Bonnie Robinson11/18
You will need:
Squares of thick paper or card
Scissors
Glue
A selection of pretty buttons
Needle
Embroidery thread
 Bonnie Robinson12/18
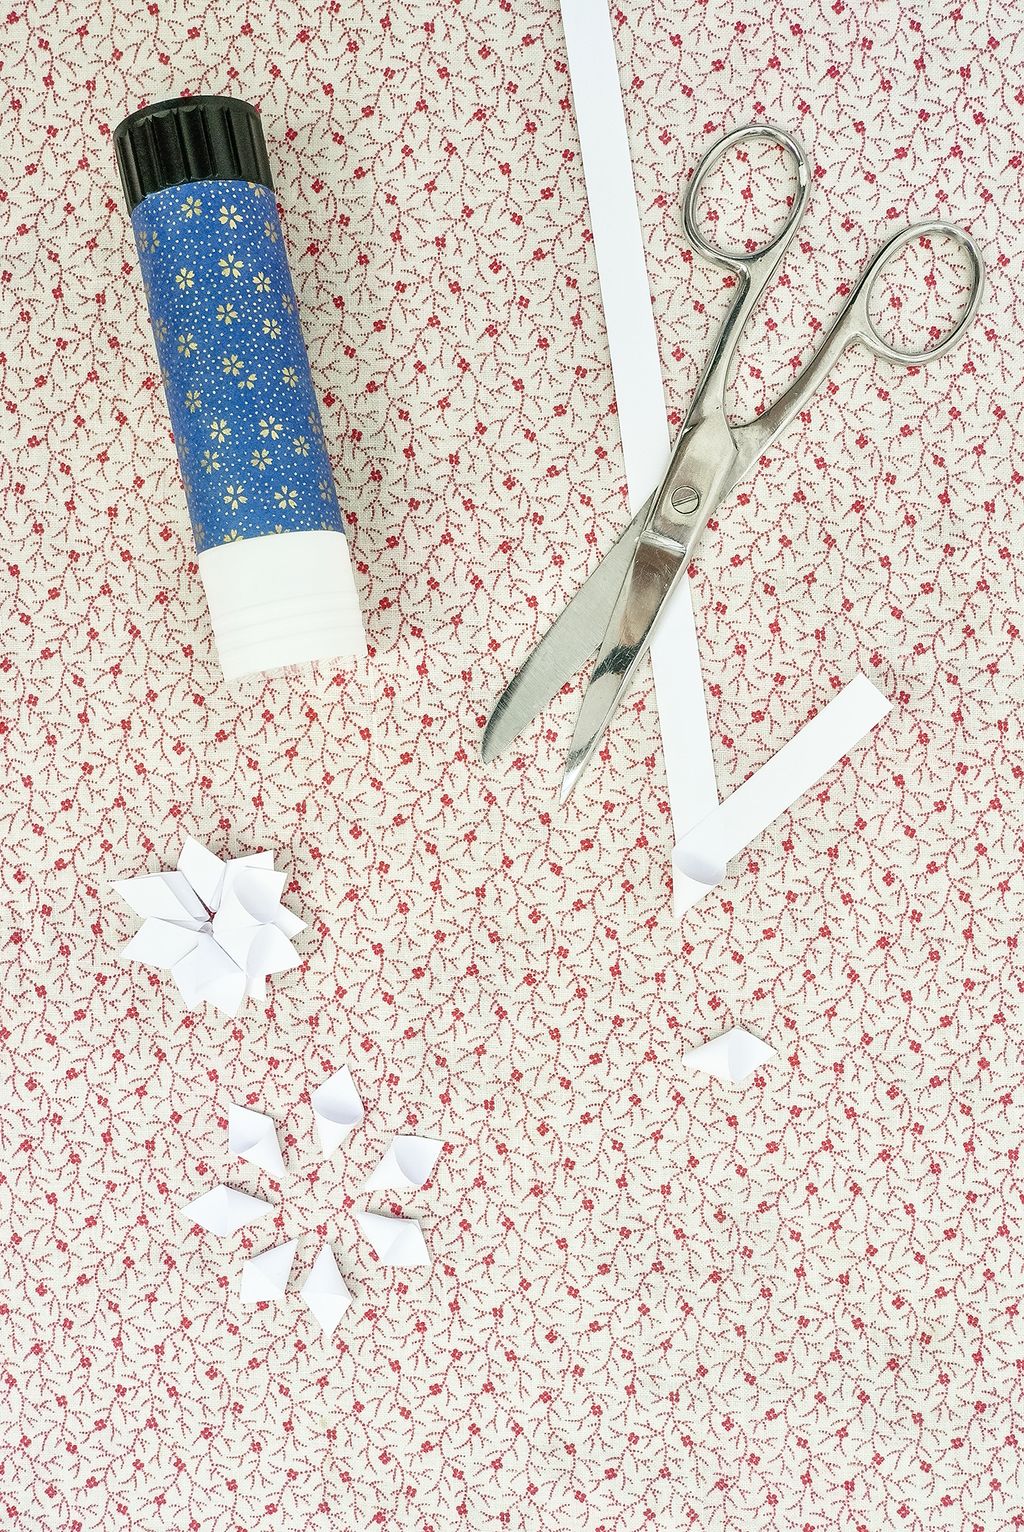
Fold and unfold your square of paper diagonally both ways across the middle to form a cross.
Snip along these folded lines at each corner, creating cuts halfway to the centre point.
Fold the edges in to create the shape of your pinwheel and secure with glue.
Sew a button of your choice in the centre and then attach a thread with which to hang your ornament.


 Bonnie Robinson13/18
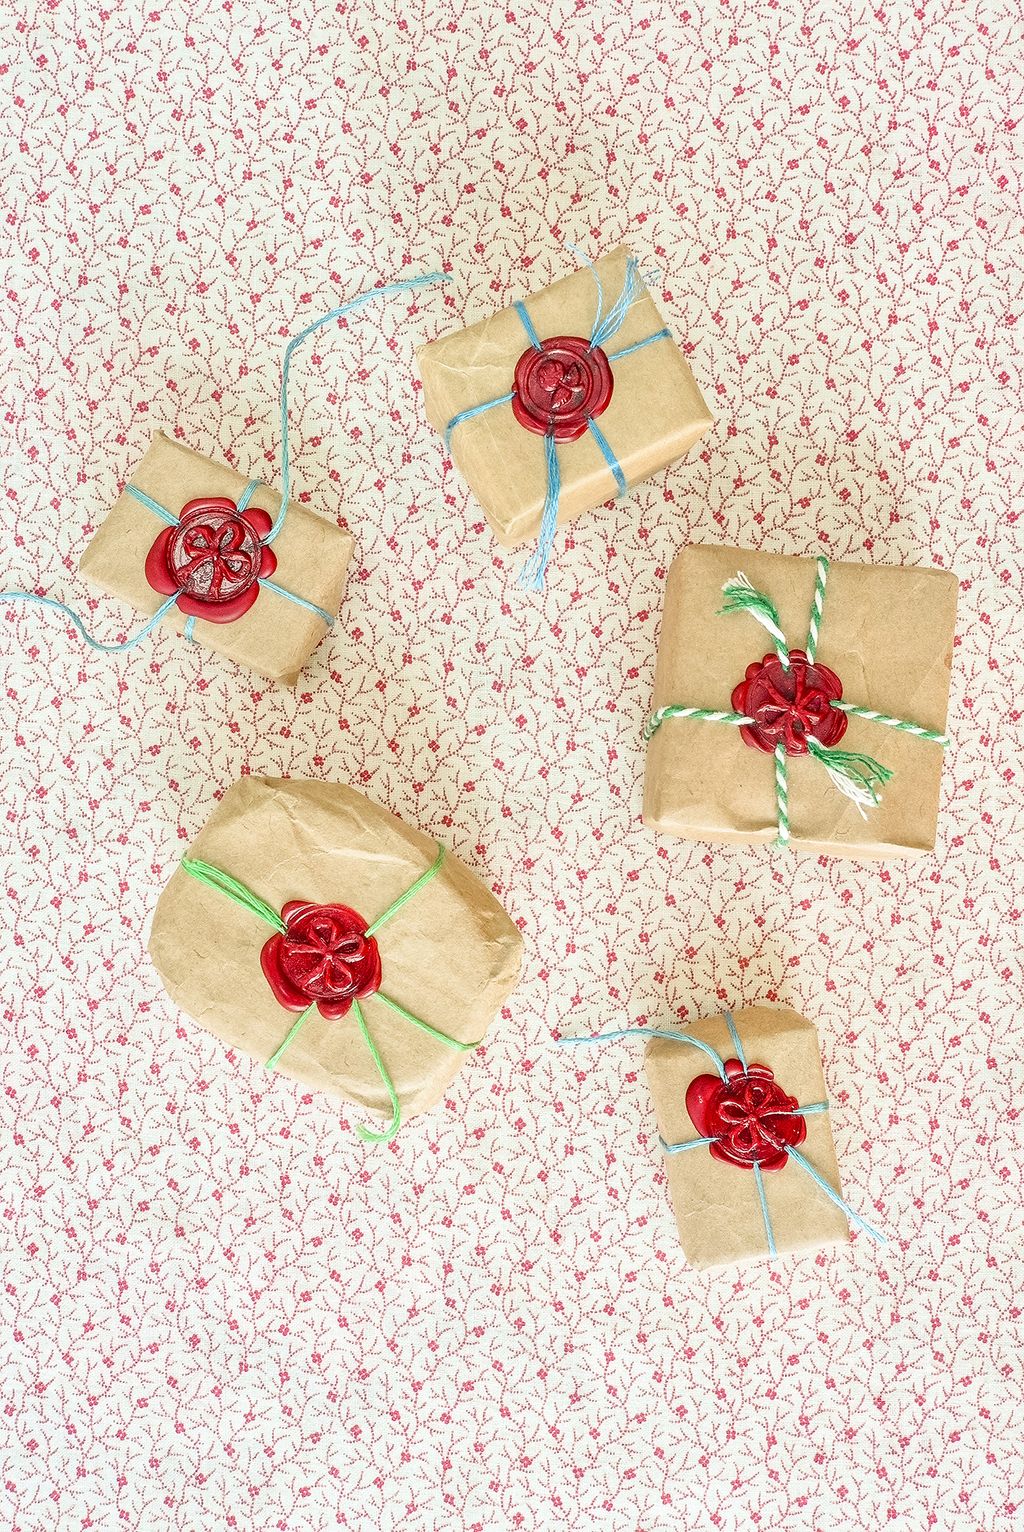
Brown paper packages tied up with strings
I feel sure that Maria von Trapp would have jumped at the chance to decorate her Tannenbaum with these. They are also the perfect excuse to splash out on a delectable wax seal stamp. Choosing Keeping has the most wonderful selection, allowing one to secure one’s parcels as well as Christmas cards and letters with everything from bees to skulls and crossbones. I plumped for a ribbon motif in a nod to the traditional red bows often tied to the branches of Christmas trees.
 Bonnie Robinson14/18
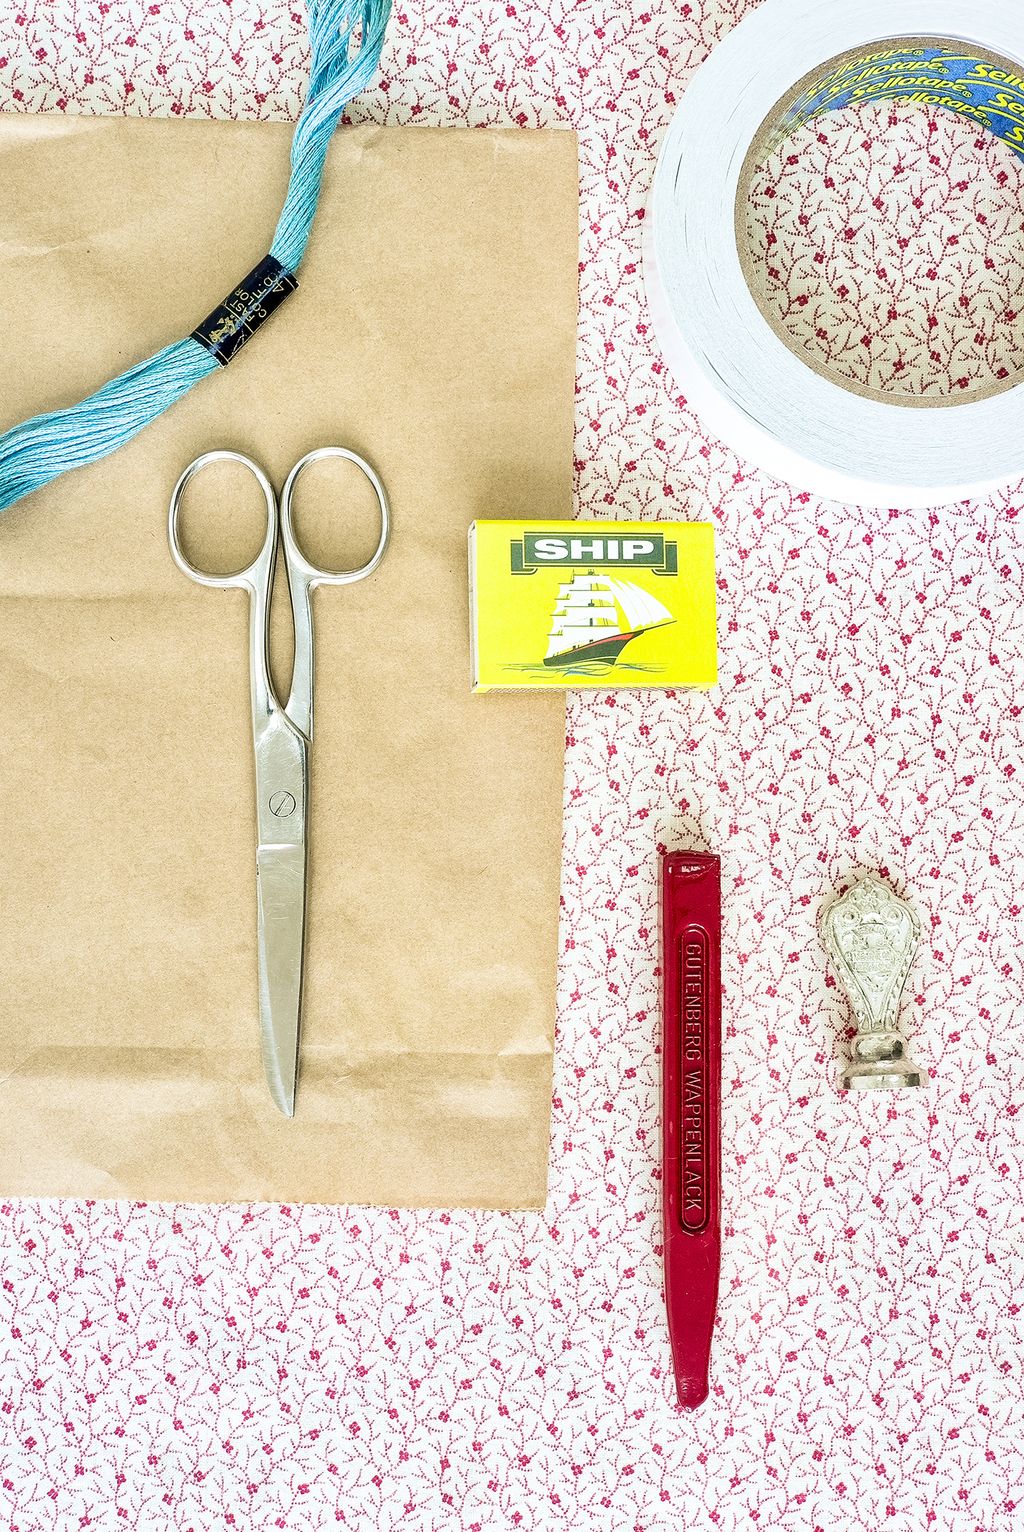
You will need:
A selection of tiny cardboard boxes
Double-sided sticky tape
String or embroidery thread
Needle
Sealing wax
Seal stamp
 Bonnie Robinson15/18
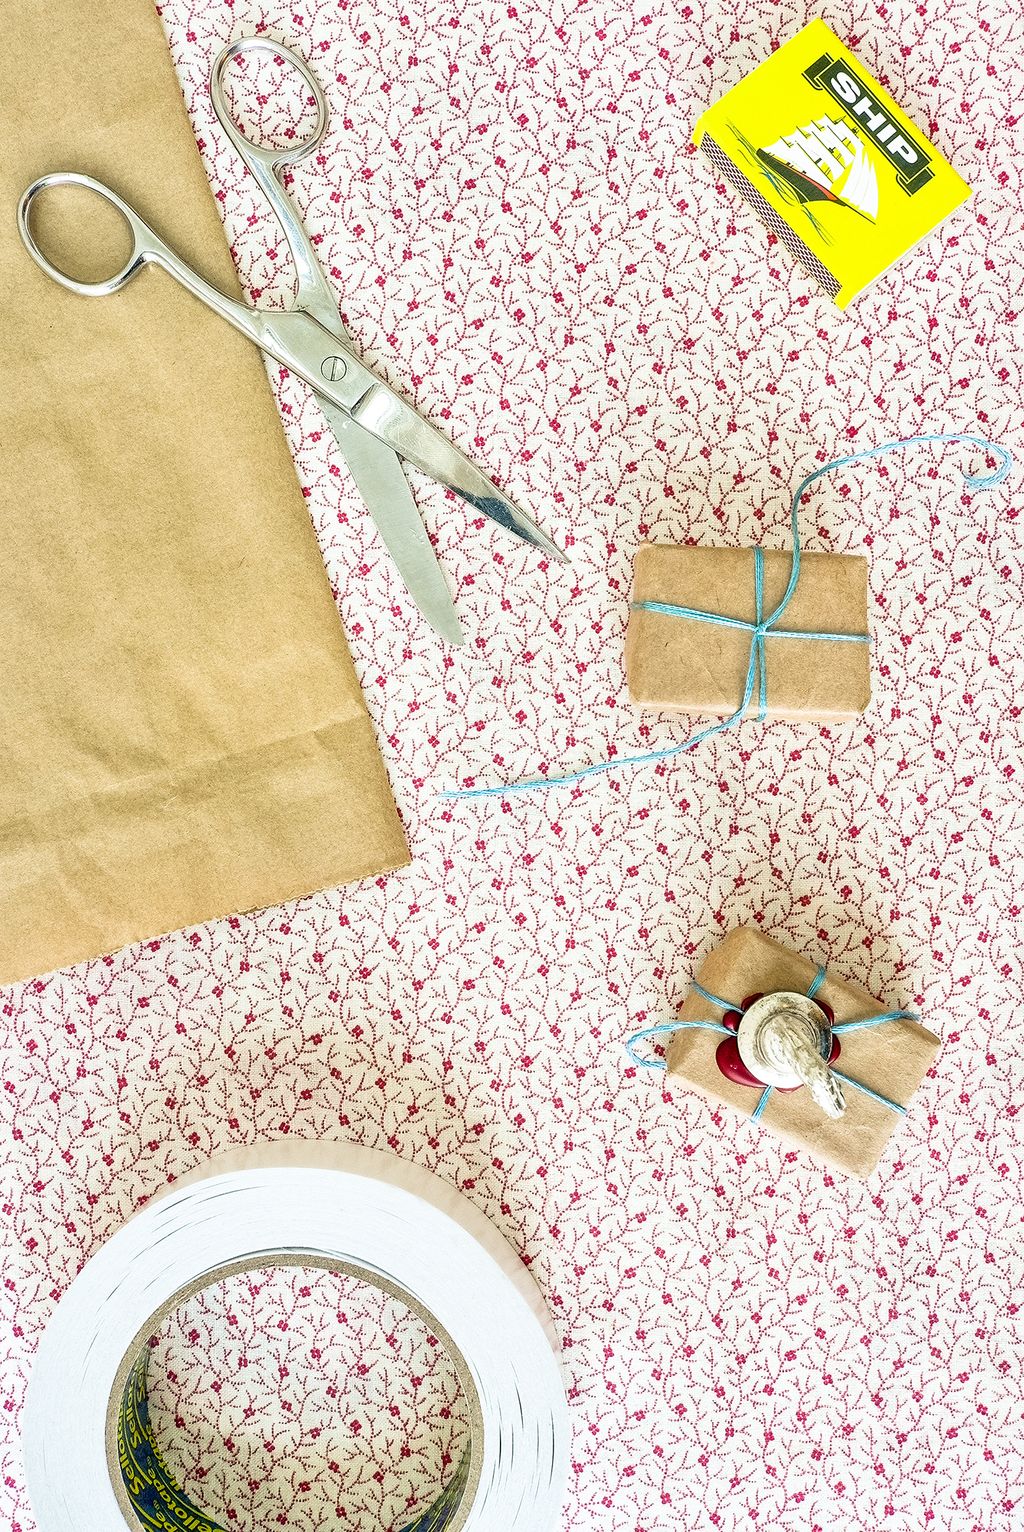
Carefully wrap your boxes, hiding the double-sided sticky tape neatly beneath folds.
Tie with string.
Seal with sealing wax.
Sew through the box across a corner to create a hanging loop.
 Bonnie Robinson16/18
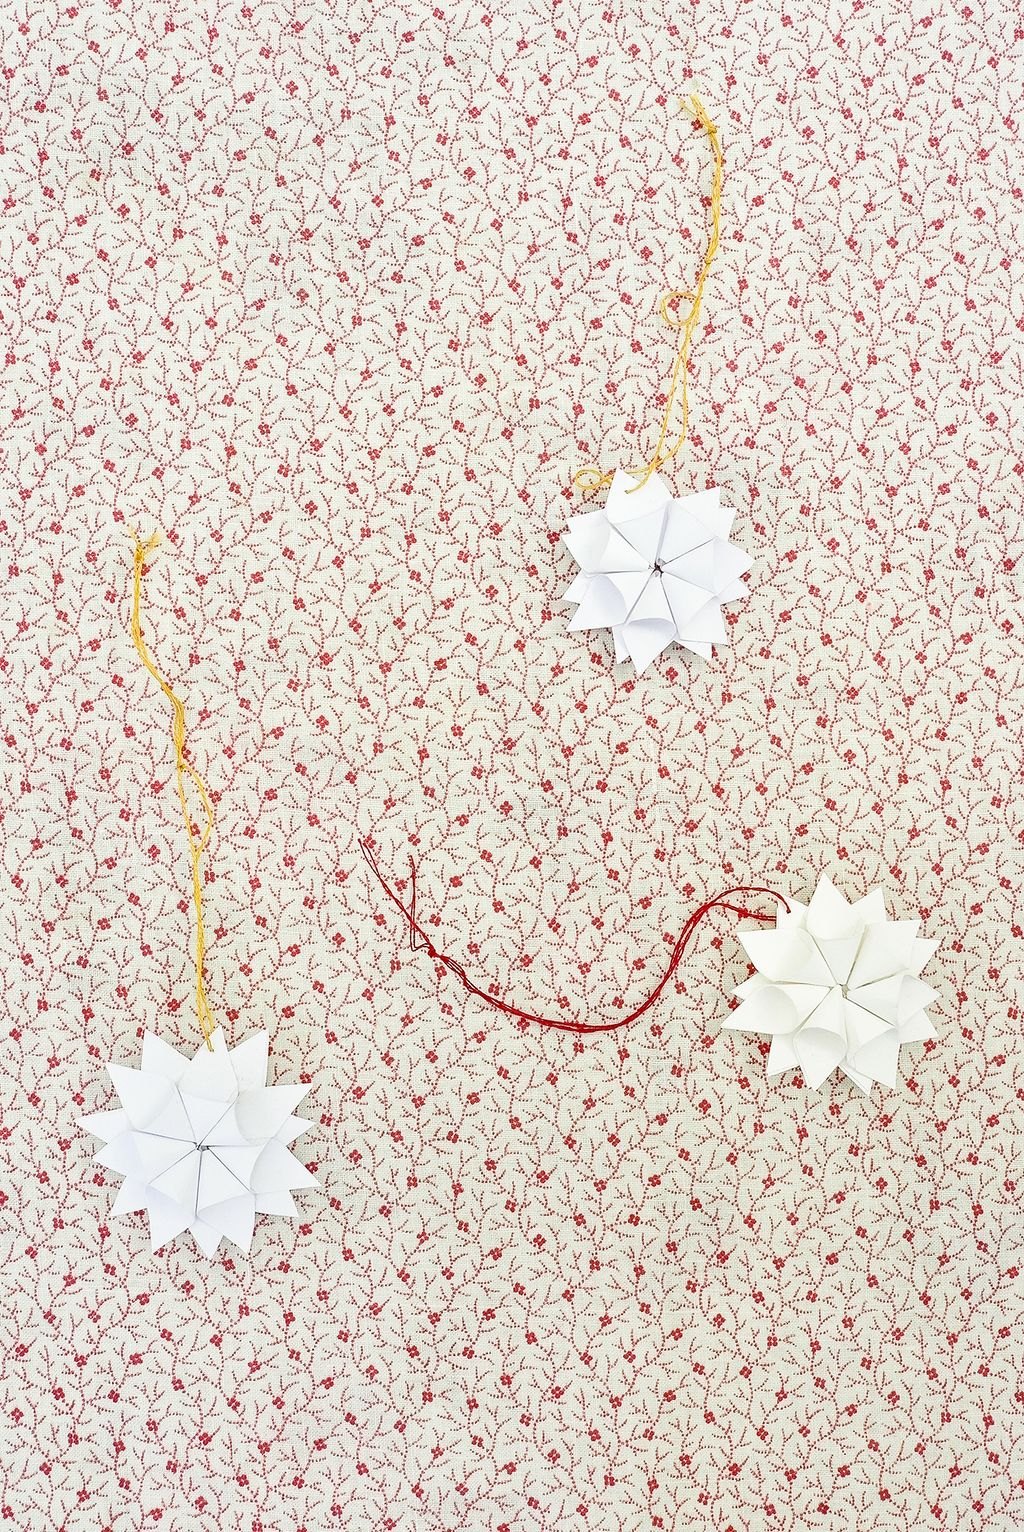
Origami stars
I made dozens of these for a House & Garden Christmas shoot a few years ago and now can’t resist making a few every year. Find my original instructions and a jaunty video here. Cambridge Imprint now make the loveliest kits including everything you need to make the stars - origami paper and an illustrated instruction booklet all presented in a useful little box. The perfect Christmas gift or treat for yourself.


 Bonnie Robinson17/18
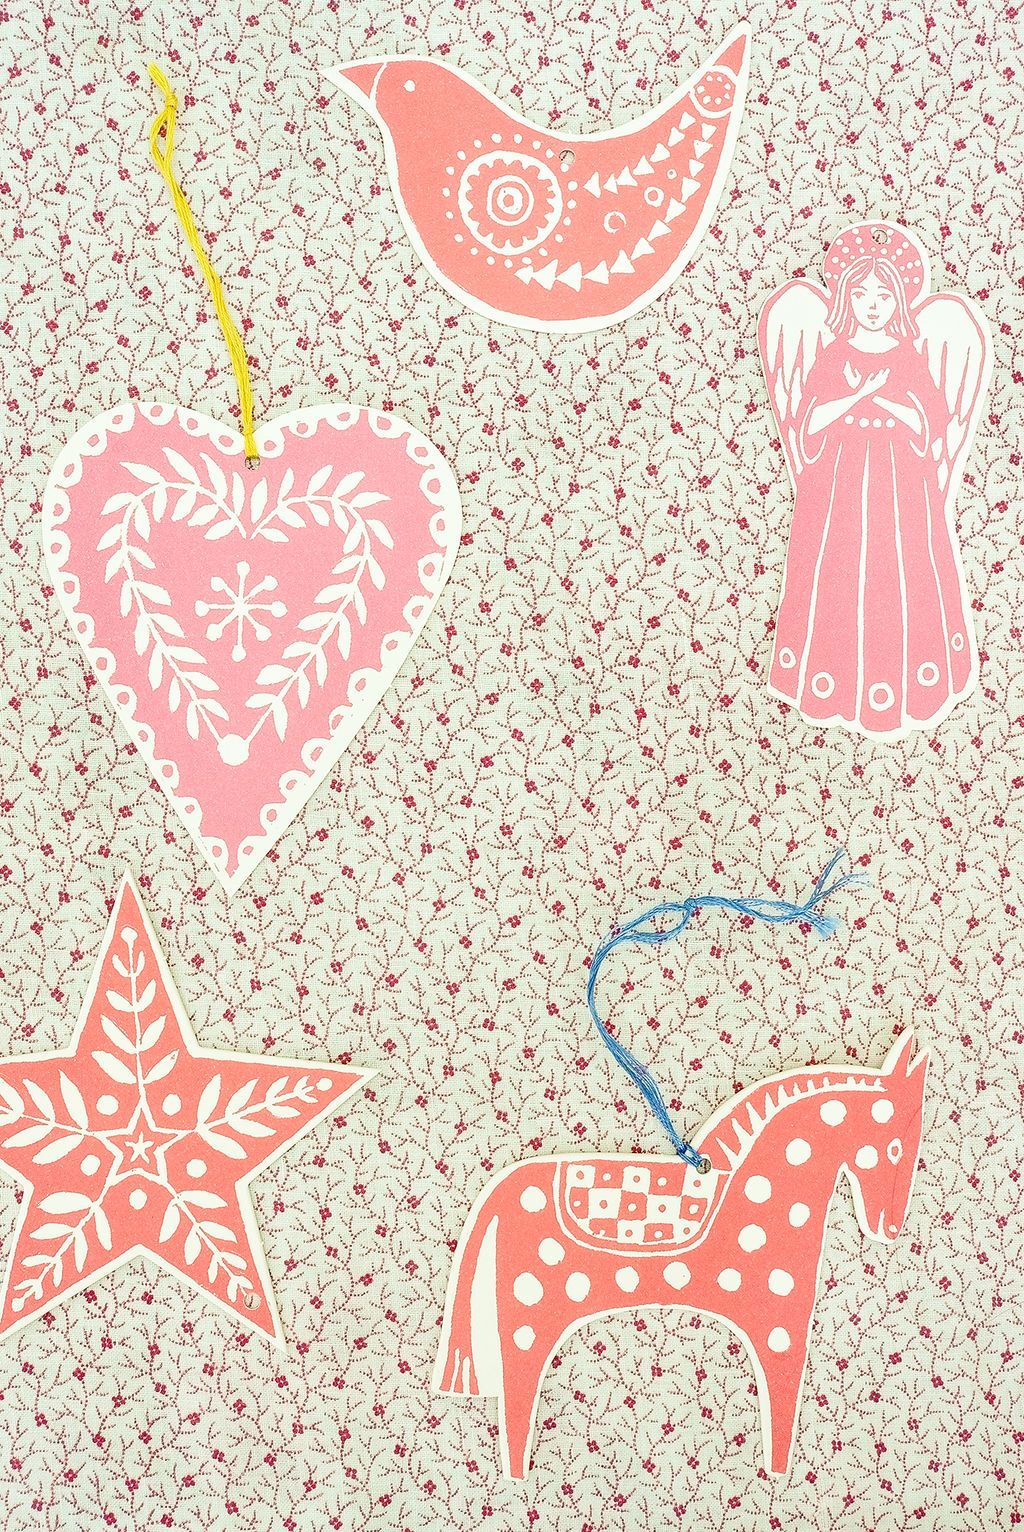
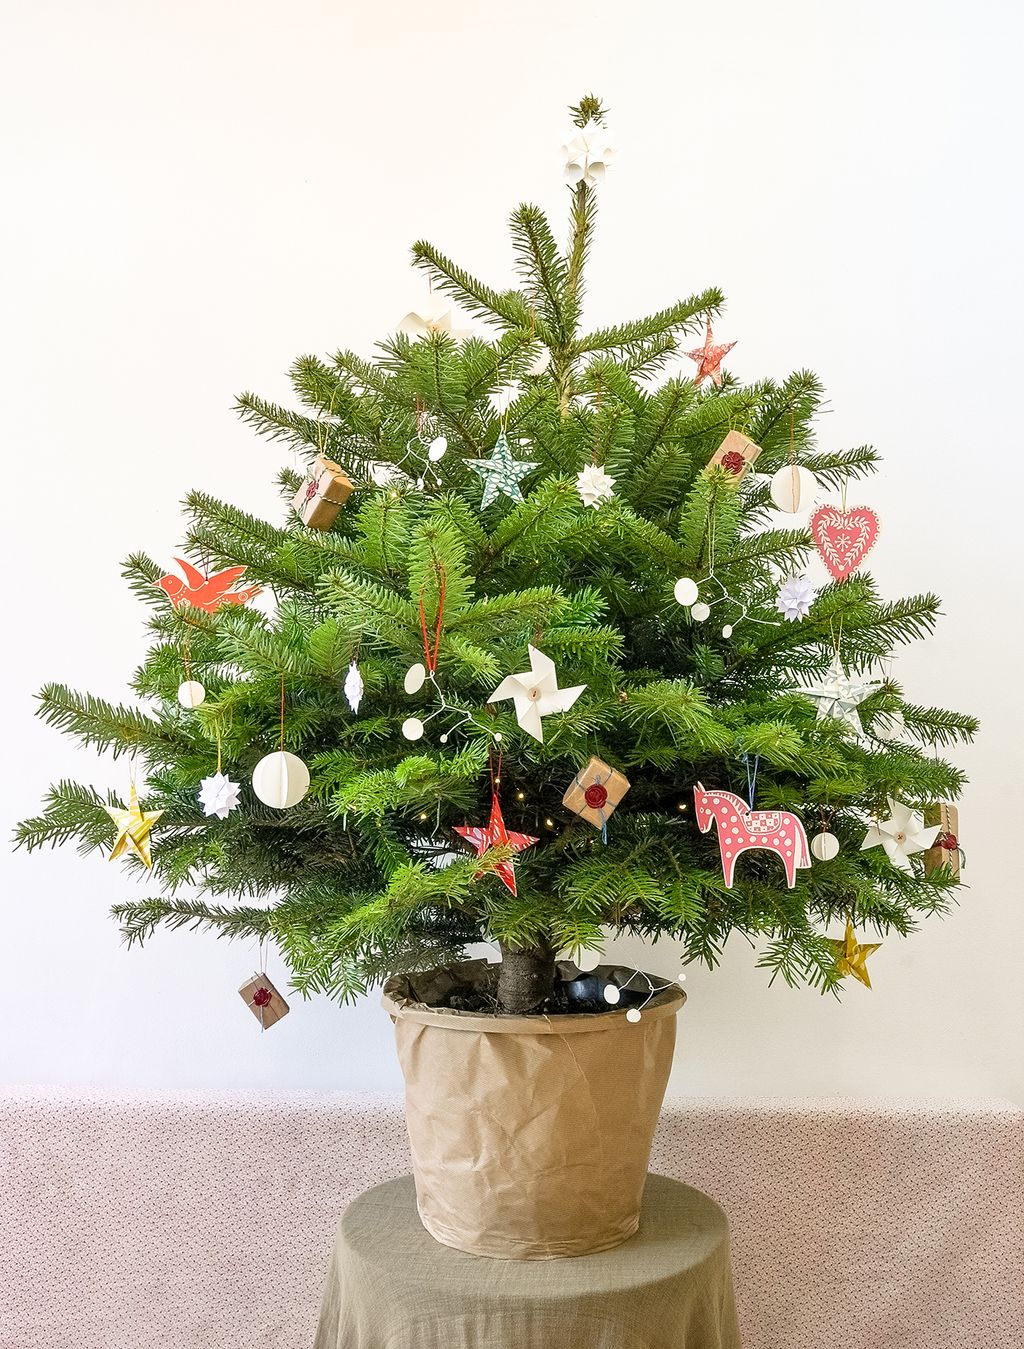
Folk Art Decorations
The Cambridge Imprint Christmas selection seems to get bigger and better every year. These screen-printed decorations come on a big perforated sheet. Just pop them out, thread through some ribbon or string and hang on your tree for instant joy.
 Bonnie Robinson18/18