Contents
If you want to refresh the look of your tiles or replace the old grout with a new color, you need to remove the existing grout first. This can be done with a few tools and some elbow grease. You can either use a manual method or a power tool method, depending on your preference and budget. Here are the steps for both methods.
Using a Manual Method
This method requires more time and effort, but it is cheaper and gives you more control over the process. You will need safety goggles, a carbide tip grout removal tool, a utility knife with a dull blade, and a shop vacuum.
- Put on your safety goggles to protect your eyes from flying grout particles.
- Use the carbide tip grout removal tool to scrape along the grout lines. Apply moderate pressure and work in short strokes. Be careful not to damage the tile edges with the tool.
- Use the utility knife with a dull blade to remove any remaining grout bits that are stuck in the corners or edges of the tiles. Run the blade along the grout lines at an angle and gently pry out the grout.
- Use the shop vacuum to suck up all the loose grout dust and debris from the tile surface and the grout lines.
- Wipe down the tiles with a damp cloth to remove any residue.
Using a Power Tool Method
This method is faster and easier, but it is more expensive and requires more caution. You will need a safety goggle, an oscillating tool with a grout removal blade, and a shop vacuum.
- Put on your safety goggles to protect your eyes from flying grout particles.
- Attach the grout removal blade to the oscillating tool and turn it on. Hold the tool horizontally or vertically, depending on the direction of the grout lines, and lightly press it against the grout. Let the tool do the work and do not force it. The blade should cut through the grout easily.
- After you have removed most of the visible grout, angle the blade slightly to reach the grout that is hidden behind the tile edges. Work slowly and carefully to avoid damaging the tile with the blade.
- Use the shop vacuum to suck up all the loose grout dust and debris from the tile surface and the grout lines.
- Wipe down the tiles with a damp cloth to remove any residue.
Tips
- Before you start removing the grout, make sure you have enough replacement grout of your desired color and type.
- If you are using a power tool, make sure you have enough battery power or cord length for your project.
- If you encounter any stubborn or hard grout that is difficult to remove, you can try softening it with vinegar. Spray a mixture of half vinegar and half water on the tile and let it sit for a few minutes before wiping it off with a cloth.
- If you damage any tiles during the process, you may need to replace them with new ones that match your existing tiles.
How to Apply New Grout
After you have removed the old grout and cleaned the tiles, you are ready to apply new grout to your tile surface. You will need a grout mix of your choice, a grout float, a sponge, a bucket of water, and a grout sealer.
- Prepare the grout mix according to the package instructions. You can choose from different colors and types of grout, such as sanded or unsanded, depending on your tile size and preference.
- Use the grout float to scoop up some grout and spread it over the tile surface. Press the grout into the gaps between the tiles with the edge of the float. Make sure to fill all the spaces evenly and completely.
- Use the flat side of the float to remove any excess grout from the tile surface. Hold the float at a 45-degree angle and swipe it diagonally across the tiles. Repeat this until the tiles are mostly clean.
- Use a damp sponge to wipe off any remaining grout haze from the tiles. Rinse the sponge frequently in clean water and wring it out well. Do not use too much water or you may wash out the grout from the joints.
- Let the grout dry for at least 24 hours or as directed by the manufacturer.
- Apply a grout sealer to protect the grout from stains and moisture. Follow the instructions on the sealer product and use a brush or a sponge applicator to apply it over the grout lines. Let it dry and cure as directed.
Tips
- Before you apply new grout, make sure you have removed all the old grout and cleaned the tiles thoroughly.
- Choose a grout color that complements your tile color and style. You can also use contrasting colors for a more dramatic effect.
- Choose a grout type that suits your tile size and material. Sanded grout is more durable and suitable for larger joints, while unsanded grout is smoother and better for smaller joints.
- Work in small sections at a time and do not let the grout dry on the tile surface before wiping it off.
- Wear gloves and eye protection when working with grout and sealer.
How to Maintain Your Tile Grout
Now that you have a fresh and clean tile surface with new grout, you want to keep it that way for as long as possible. Here are some tips on how to maintain your tile grout and prevent common problems.
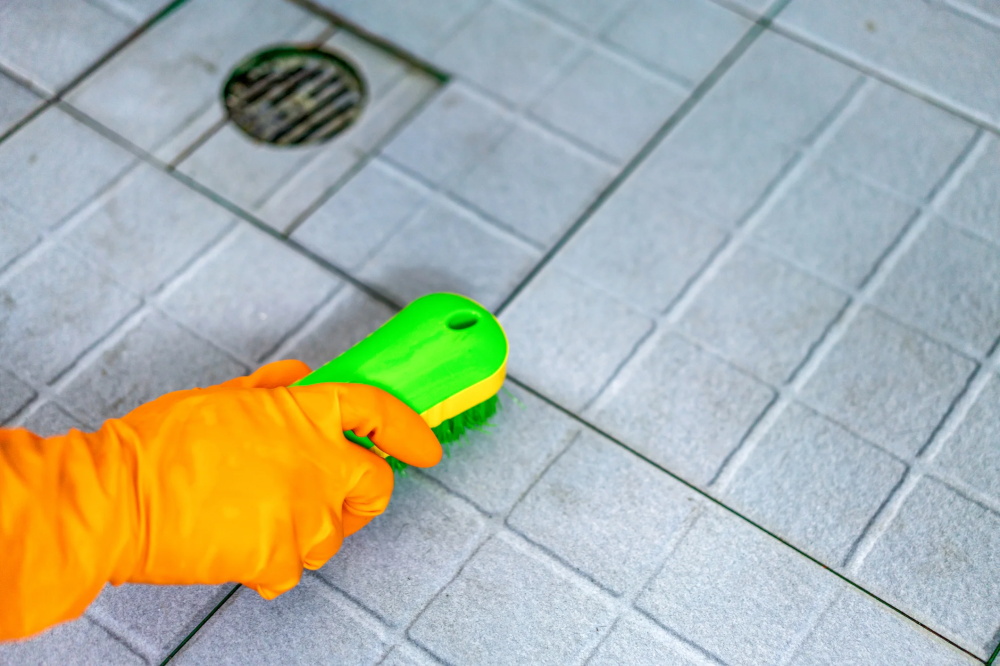
- Clean your tile surface regularly with mild detergent and water. Avoid using harsh or acidic cleaners that may damage the grout or the tile. You can also use a vinegar solution to remove mildew or soap scum from the tiles and grout.
- Dry your tile surface after each use with a towel or a squeegee. This will prevent water from seeping into the grout and causing mold or mildew growth.
- Repair any cracks or holes in the grout as soon as you notice them. You can use a grout repair kit or a grout pen to fill in the gaps and restore the color of the grout.
- Reapply grout sealer every year or as needed to protect the grout from stains and moisture. Follow the instructions on the sealer product and use a brush or a sponge applicator to apply it over the grout lines. Let it dry and cure as directed.
Conclusion
Removing and replacing tile grout is a simple and effective way to refresh the look of your tile surface. Whether you use a manual method or a power tool method, you can remove the old grout and apply the new grout with ease. By following these steps and tips, you can enjoy your new tile grout for years to come.

