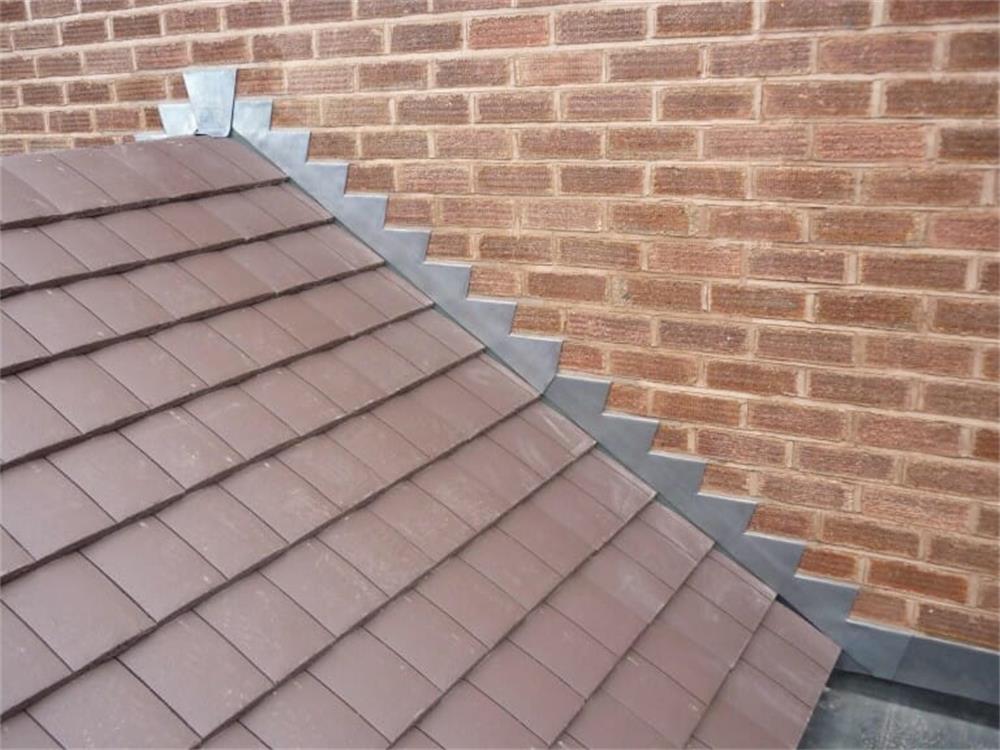
Step flashing is a type of flashing that protects the joint between the roof and a vertical surface, such as a wall or a dormer. Step flashing is made of metal pieces that are bent at a 90-degree angle and interlocked with the shingles. Step flashing prevents water from seeping into the roof or the wall and causing damage. Here are the steps to install step flashing on your roof:
- Remove the lower part of the siding on the wall where you want to install step flashing. You need to expose about 10 to 12 inches of the wall to have enough space to work with.
- Install the underlayment under the shingles on the roof. The underlayment is a waterproof membrane that adds an extra layer of protection against moisture.
- Install corner flashing at the bottom corner of the wall and the roof. Cut a piece of step flashing at a 45-degree angle from the outside corner to the bent seam and bend it down and back to fit snugly on the corner. Nail it to the wall with two nails, one on each face.
- Install kickout flashing at the end of the wall where it meets the eave. Kickout flashing is a special piece of flashing that directs water away from the wall and into the gutter.
- Place your first shingle on the roof, aligning it with the edge of the starter course. Nail it down with roofing nails.
- Place a piece of step flashing on top of the shingle, making sure it covers the corner flashing and sits tightly against the wall. Nail it to the roof with one nail in the upper corner.
- Place another shingle over the step flashing, overlapping it by at least 4 inches. Nail it down with roofing nails.
- Repeat steps 6 and 7 until you reach the peak of the roof, creating a stair-like pattern of step flashing and shingles.
- Cut and bend the last piece of step flashing to fit around the peak of the roof. Nail it to both sides of the roof with roofing nails.
- Cover the exposed part of the step flashing with shingles, making sure they overlap by at least 4 inches. Nail them down with roofing nails.
- Apply a bead of sealant along the edge of each piece of step flashing where it meets the wall. This will help seal any gaps and prevent water from getting behind the flashing.
- Replace or install new siding on the wall, covering up most of the step flashing but leaving about an inch exposed for drainage.
You have successfully installed step flashing on your roof!