Contents
A ceiling fan can be a great addition to any room, providing cooling, lighting, and style. But how much does it cost to install one? The answer depends on several factors, such as the type and size of the fan, the complexity of the installation, and whether you need to add or upgrade any wiring or switches.
Average Cost of Ceiling Fan Installation
According to various sources, the average cost of ceiling fan installation is between $75 and $300 for labor only, with most homeowners spending around $150 to $400 for both parts and labor. The cost of the fan itself can range from $50 to $1,400 for residential models, and up to $3,500 or more for commercial ones.
Cost Factors for Ceiling Fan Installation
The cost of installing a ceiling fan can vary depending on several factors, such as:
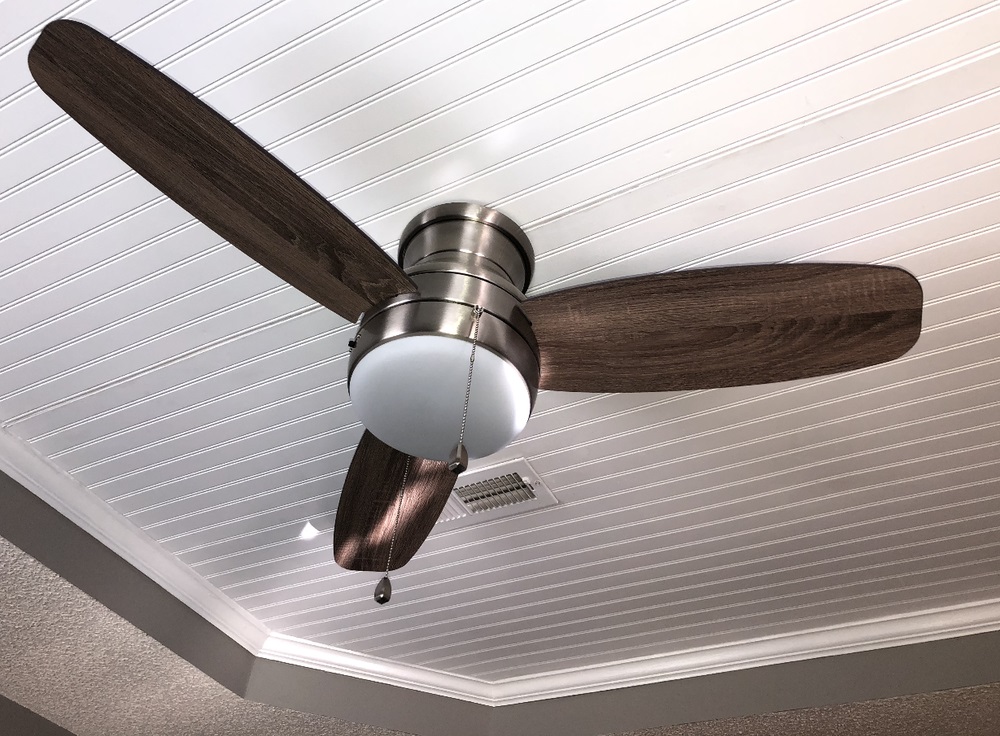
- Type and size of the fan: Different types of fans have different features and prices. For example, a wood ceiling fan costs $100 to $400 on average, while a stainless steel fan runs closer to $200 to $800³. The size of the fan also affects the cost, as larger fans require more materials and labor. A typical ceiling fan size is 48 inches in diameter, but they can range from 42 to 56 inches or more.
- Complexity of the installation: The difficulty and time required to install a ceiling fan depends on whether you are replacing an existing light fixture or installing a new one where none existed before. If you are replacing a light fixture, you may need to install a brace or box to support the weight of the fan, which can add $50 to $100 to the cost². If you are installing a new fan where there is no existing wiring or switch, you may need to run new wires, cut holes in the wall or ceiling, and install a switch or remote control, which can add $200 to $500 or more to the cost.
- Location of the fan: The location of the fan can also affect the cost of installation. For example, if you want to install an outdoor ceiling fan on a porch or patio, you may need a weather-resistant fan and wiring, which can increase the cost by 10% to 20%². If you want to install a ceiling fan in a high or sloped ceiling, you may need a longer downrod or an extension kit, which can add $20 to $100 or more to the cost.
- Additional features: Some ceiling fans come with extra features that can enhance their functionality and appearance, but also increase their cost. For example, some fans have lights attached to them, which can add $50 to $200 or more to the cost depending on the type and number of bulbs. Some fans have remote controls or smart features that allow you to adjust the speed and direction of the blades, dim the lights, or integrate with other devices like thermostats or speakers. These features can add $50 to $300 or more to the cost depending on the complexity and quality of the system.
Cost Comparison Table
The following table summarizes some common scenarios and costs for ceiling fan installation:
| Scenario | Description | Cost |
|---|---|---|
| Low-end | Installing a 42-inch four-blade white-finish fan with no light or remote control in an existing light fixture with easy access | $85 – $200 |
| Mid-range | Installing a 48-inch five-blade rattan fan with light kit and remote control in an existing light fixture with moderate access | $350 – $650 |
| High-end | Installing a 56-inch five-blade leaf-design premium fan with light kit and smart features in a new location with no existing wiring or switch and limited access | $600 – $1,000 |
Tips for Choosing and Installing a Ceiling Fan
Before you buy and install a ceiling fan, here are some tips to help you choose the right one for your space and budget:
- Measure your room size and ceiling height: The size of your room and ceiling will determine how big your fan should be and how far it should hang from the ceiling. As a general rule, you should choose a fan that is 12 inches smaller than the width of the room. The fan should also hang at least 7 feet above the floor, or 8 to 9 feet for optimal airflow. If you have a high or sloped ceiling, you may need a downrod or an extension kit to lower the fan to the right height.
- Choose a fan that matches your style and budget: Ceiling fans come in a variety of styles and finishes, from traditional to modern, and from white to wood. You can also find fans with different blade shapes, such as rattan, leaf, or wicker. Choose a fan that complements your existing decor and fits your personal taste. You can also shop online for more options and compare prices and features.
- Consider the lighting and control options: Some ceiling fans have lights attached to them, which can provide extra illumination and ambiance to your room. You can choose from different types of bulbs, such as LED, incandescent, or fluorescent, and different light fixtures, such as globes, shades, or chandeliers. Some fans also have dimmable lights that let you adjust the brightness level. You can also choose how you want to control your fan, whether by a wall switch, a pull chain, a remote control, or a smart device. Some fans have smart features that allow you to integrate them with other devices like thermostats or speakers.
How to Install a Ceiling Fan
If you are confident in your DIY skills and have some basic tools and materials, you can install a ceiling fan yourself. However, if you are not comfortable working with electricity or need to run new wiring or install a new junction box, you may want to hire a professional electrician or handyman to do the job for you. Here are the basic steps for installing a ceiling fan:
- Turn off the power: Before you start working on your ceiling fan installation, make sure to turn off the power at the circuit breaker and place any wall switches to the off position. Use an appropriate testing device to ensure no power is present at the light fixture before you begin work. Do not rely on a wall switch to protect you from electrical shock.
- Remove the existing fixture: If you are replacing an existing light fixture with a ceiling fan, you need to remove it first. Unscrew the fixture from the ceiling and disconnect the wires. Be careful not to damage the wires or the junction box.
- Install the junction box: If you are installing a new fan where none existed before, or if your existing junction box is not rated for ceiling fans, you need to install a new one that can support the weight and movement of the fan. You may need to cut a hole in the ceiling and attach a fan brace between the ceiling joists. Then attach the junction box to the brace with screws.
- Assemble the fan: Follow the manufacturer’s instructions to assemble the fan parts, such as the motor housing, the downrod (if needed), the canopy, and the blades. You may also need to attach the light kit (if included) and wire it to the fan.
- Hang the fan: Lift the fan up to the ceiling and hook it onto the mounting bracket that comes with the fan. The bracket should be attached to the junction box with screws. Make sure the fan is securely hooked and supported by the bracket.
- Wire the fan: Connect the wires from the fan to the wires from the ceiling using wire nuts. Follow the manufacturer’s instructions for the specific wiring configuration. Usually, you need to match the colors of the wires, such as black to black, white to white, and green to green or bare copper. Tuck the wires into the junction box and canopy.
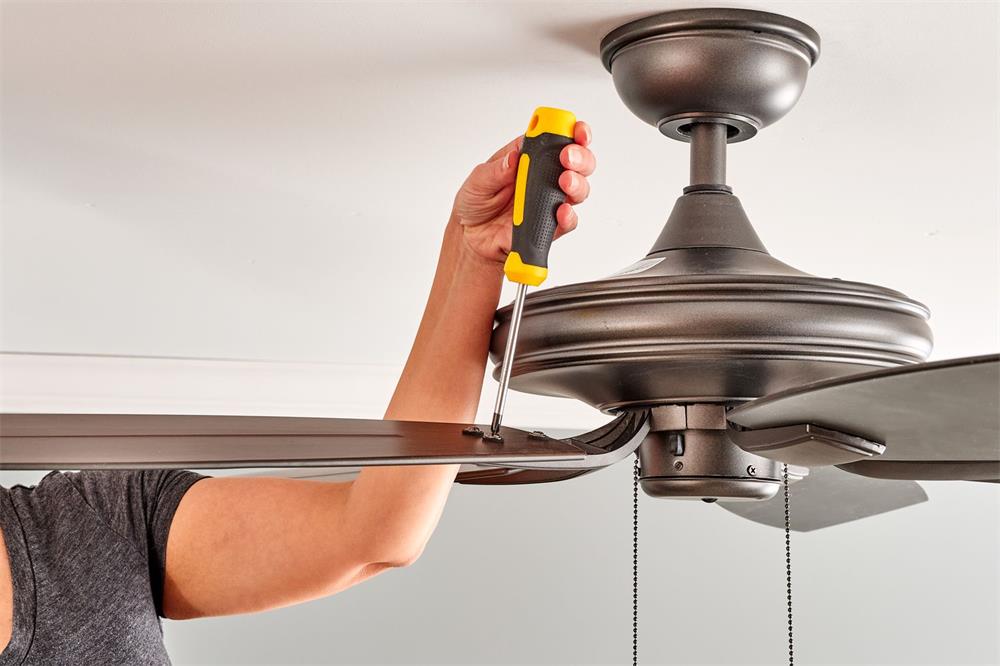
- Attach the blades and light: Attach each blade to the fan motor with screws. Make sure they are evenly spaced and aligned. If your fan has a light kit, attach it to the fan motor and connect the wires. Install the bulbs and shades as instructed.
- Test the fan: Turn on the power at the circuit breaker and wall switch. Use the pull chain or remote control to turn on the fan and light. Check if the fan is working properly and quietly. If you notice any wobbling or noise, you may need to balance or tighten the blades.
Summary
Installing a ceiling fan can be a rewarding DIY project that can improve your comfort and save you money on energy bills. However, it can also be challenging and risky if you are not familiar with electrical wiring or ceiling fixtures. To choose and install a ceiling fan, you need to consider several factors, such as:
- The size and height of your room and ceiling
- The type and style of your fan
- The complexity and location of your installation
- The lighting and control options for your fan
- The safety precautions and permits for your project
You can follow these steps to install a ceiling fan:
- Turn off the power at the circuit breaker and wall switch
- Remove the existing fixture (if any) and disconnect the wires
- Install a new junction box (if needed) and a mounting bracket
- Hang the fan on the bracket and wire it to the ceiling
- Attach the blades and light kit (if included) to the fan
- Test the fan and balance or tighten it if needed
If you are unsure or uncomfortable with any of these steps, you should hire a professional electrician or handyman to do the job for you.

