Contents
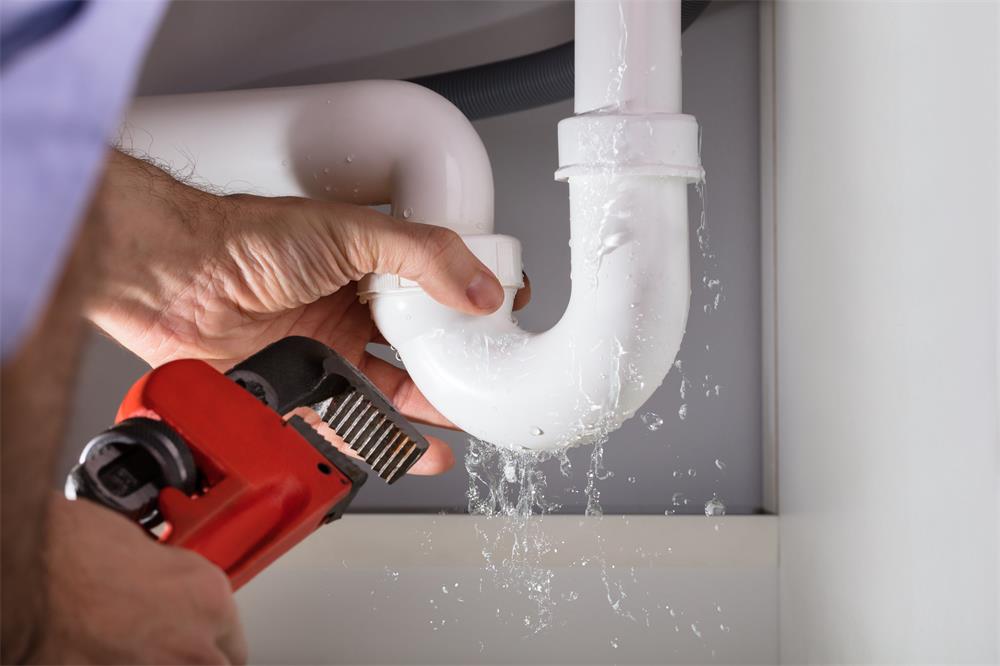
If you notice water leaking from the joint where your sink and drain meet, you may need to replace your sink strainer. This is a simple DIY project that can prevent water damage to your kitchen cabinets. Here’s how to do it.
What You’ll Need
- A new sink strainer (choose one that matches your existing one)
- Channel-type pliers
- Plumber’s putty
Step 1: Remove the Old Sink Strainer
First, you need to disconnect the drain pipes from the old sink strainer. Use your pliers to loosen the slip nuts on the drain fittings, then pull off the drain trap from the sink strainer’s tailpiece. Next, you need to unscrew the large nut that holds the sink strainer in place. This can be tricky if the nut or the strainer is rusty. You may need to cut the nut with a saw or a hacksaw blade if you can’t loosen it with pliers. Once the nut is off, you can lift out the old sink strainer.
Step 2: Clean the Sink Opening
Before you install the new sink strainer, you need to clean the area around the sink opening. Scrape off any old plumber’s putty or debris that may interfere with the seal of the new strainer. Make sure the surface is smooth and dry.
Step 3: Apply Plumber’s Putty to the New Sink Strainer
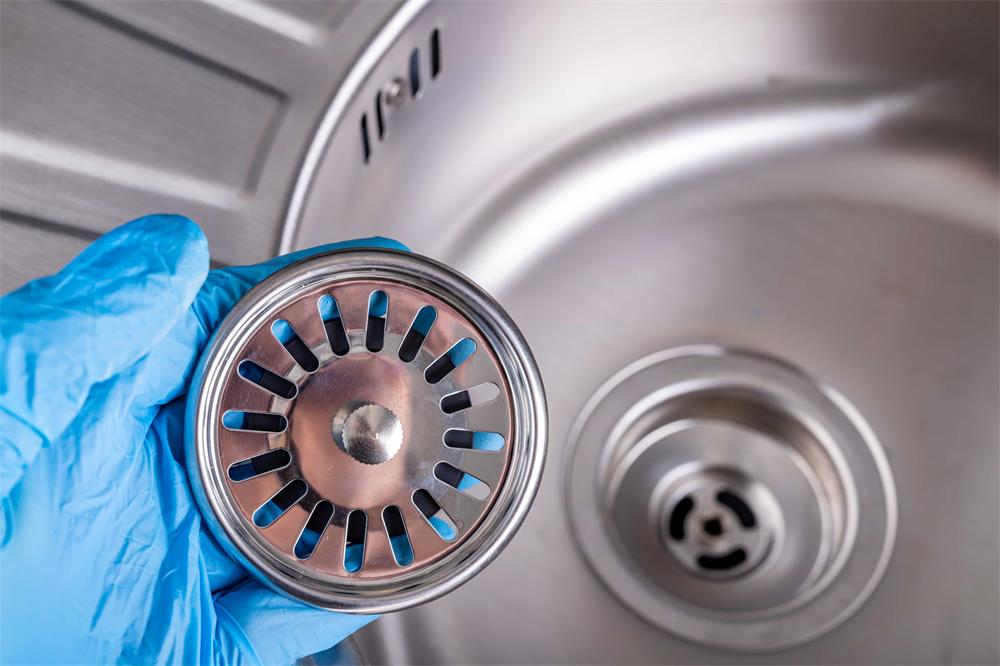
Take out the new sink strainer and separate its parts. You should have a basket, a flange, a washer, and a retainer with screws. Roll out a thick rope of plumber’s putty and wrap it around the base of the flange, under the lip. Then, insert the flange into the sink opening and press it down firmly. The putty should squeeze out slightly around the edges.
Step 4: Secure the New Sink Strainer
From underneath the sink, place the washer over the body of the sink strainer. Then, place the retainer over the washer and thread it onto the flange. Tighten the screws evenly and firmly by hand until the washer is snug against the sink. Wipe off any excess putty from around the flange.
Step 5: Reconnect the Drain Pipes
Finally, you need to reconnect the drain pipes to the new sink strainer. Use your pliers to tighten the slip nuts on the drain fittings and secure the drain trap to the tailpiece of the sink strainer. Check for any leaks by running water through the sink and drain.
Congratulations! You have successfully replaced your sink strainer.