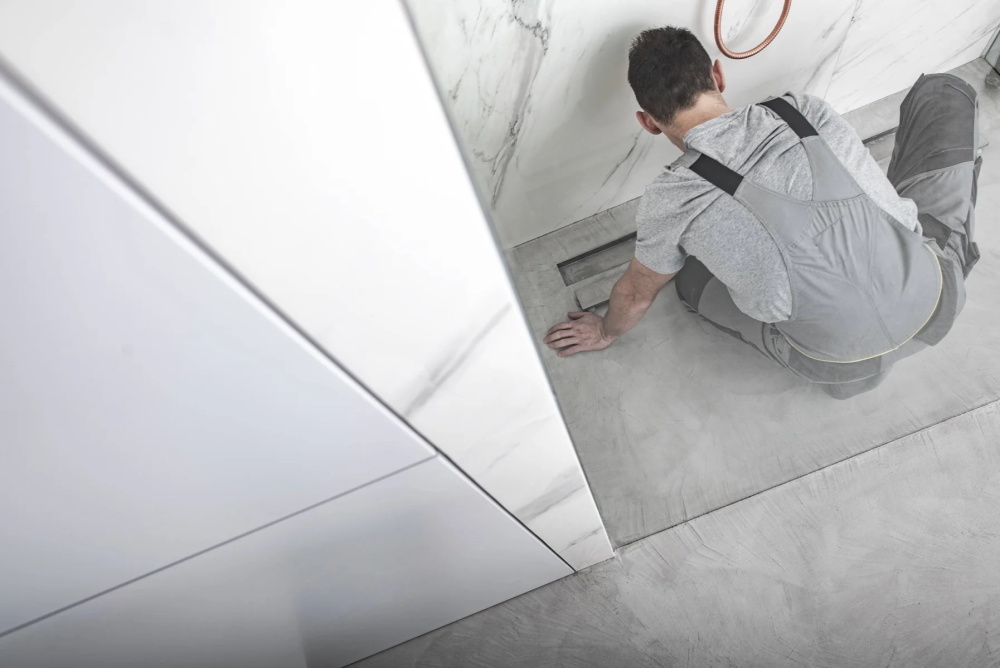
If you are remodeling your bathroom and want to replace your old tub with a new shower, you will need to install a shower drain that fits your shower base and your drain pipes. There are different types of shower drains, such as compression-style, solvent-glued, and tiled drains, and each one has its own installation method. In this article, we will focus on how to install a compression-style shower drain, which is usually easier than the other types, especially if you don’t have access to the space below the shower base.
A compression-style shower drain attaches to the drain pipes with compression washers and nuts. You can find this type of drain in ABS, PVC, or brass materials, and it can work with steel, fiberglass, or acrylic shower bases. Most shower drains are designed for 2-inch drain pipes, which are recommended for showers because they drain faster than 1 1/2-inch pipes. If your old tub has a 1 1/2-inch pipe, you may need to change it to a 2-inch pipe to avoid flooding.
What You’ll Need
- Shower drain assembly
- Silicone caulk
- Plastic pipe primer (where needed)
- Plastic pipe solvent glue (where needed)
- Hacksaw or tubing cutter
- Channel-lock pliers
- Caulk gun
- Screwdrivers
Step-by-Step Instructions
- Cut the Drain Pipe
The first step is to cut the drain pipe so that it comes up about 3/4 to 1 inch below the lip of the shower drain. You may need to test-fit the shower base and mark the right height before cutting the pipe. You can use a hacksaw or a plastic tubing cutter to cut the pipe. Make sure the cut is flat and level.
- Install the Drain Assembly
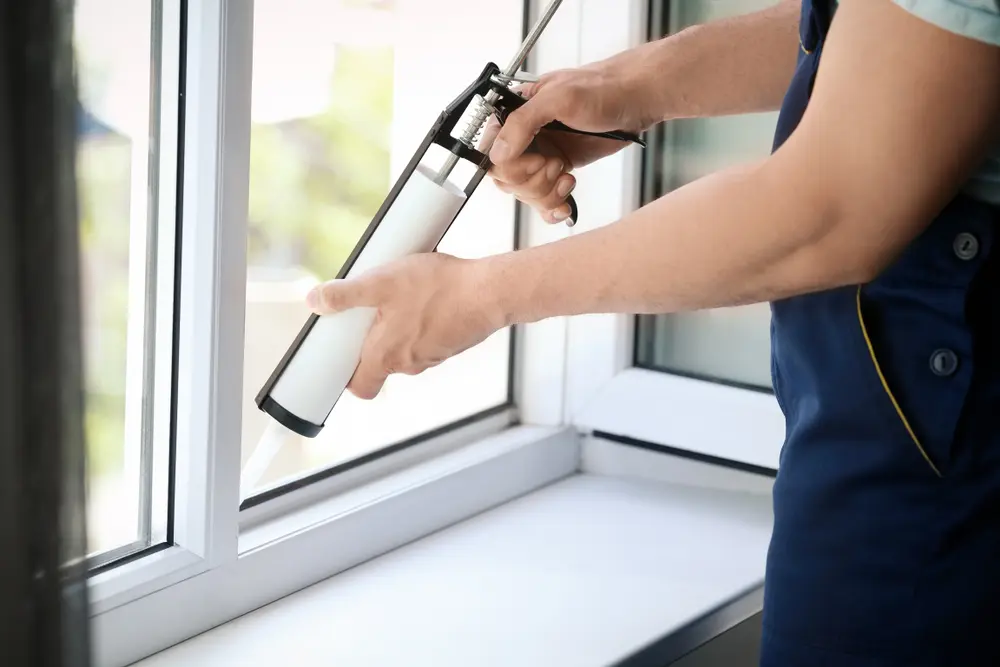
Next, apply a bead of silicone caulk around the top flange of the shower drain opening on the shower base. Then, insert the drain assembly into the opening. From under the shower base, put the rubber sealing washer and cardboard friction washer over the tailpiece of the drain assembly. Then, thread the mounting nut onto the tailpiece and tighten it with channel-lock pliers. Wipe away any excess caulk around the drain assembly.
- Set the Shower Base
Carefully set the shower base in place so that the drain pipe fits into the drain assembly. Check that the shower base is level along its edge and use shims if needed. You can also put some cardboard in the shower base and walk on it to see if it is stable.
- Connect the Drain Pipe
From below the shower base, connect the drain pipe to the drain assembly with a compression washer and nut. Tighten it with channel-lock pliers. If you are using plastic pipes, you may need to apply primer and solvent glue before connecting them.
- Finish Up
After installing the shower drain, you can finish up by installing wall panels or tiles around the shower base and caulking any gaps or seams. You can also install a strainer over the drain opening to prevent clogs.

