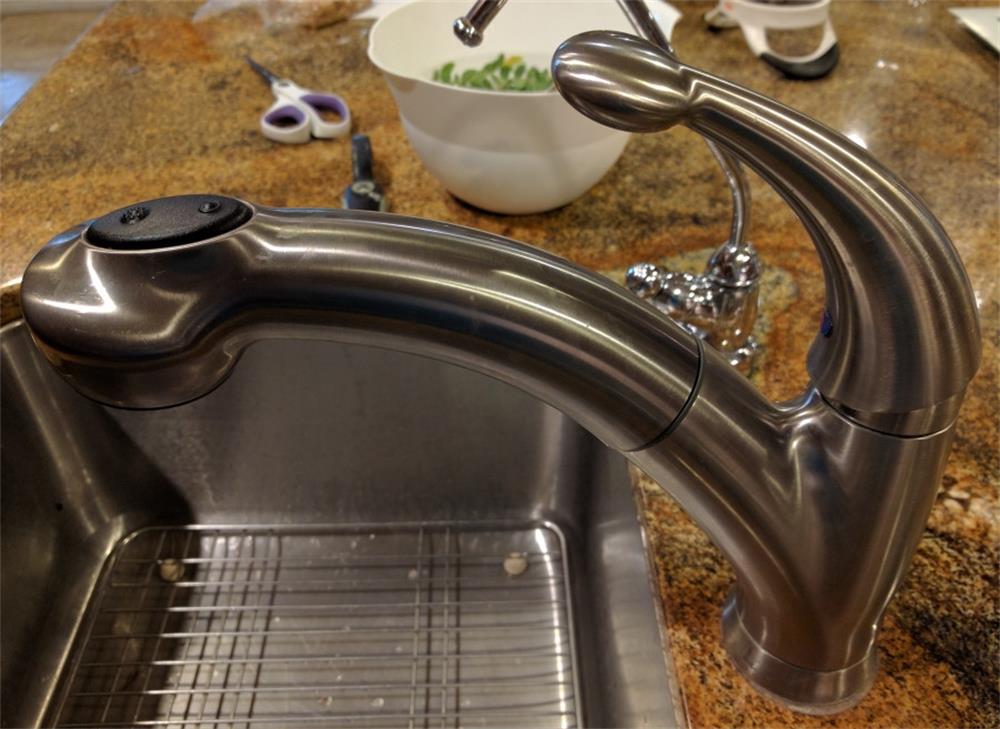
A Delta faucet is designed to last for years, but sometimes it may need some maintenance or repair. If your faucet is leaking, dripping, or making noise, you can fix it yourself with some basic tools and parts. Here are the steps to repair a Delta faucet:
- Identify your faucet model and parts. You can find your faucet model number on the product packaging, instruction manual, or receipt. You can also use the tools on the Delta website to find your product and parts by answering some questions or searching by category. You will need the model number to order the correct replacement parts for your faucet.
- Turn off the water supply. Before you start working on your faucet, you need to turn off the water supply to prevent flooding and damage. Locate the shut-off valves under the sink and turn them clockwise to close them. Then, turn on the faucet to drain any remaining water and relieve the pressure.
- Remove the handle and cap. Depending on your faucet type, you may need a screwdriver, an Allen wrench, or a pair of pliers to remove the handle and cap. For lever-handle faucets, you need to loosen the set screw under the handle with an Allen wrench and lift off the handle. For knob-handle faucets, you need to pry off the cap with a screwdriver or a knife and unscrew the handle with a screwdriver or pliers.
- Replace the ball assembly and seats and springs. The ball assembly is the part that controls the water flow and temperature. The seats and springs are small rubber parts that seal the water inlet holes. To replace them, you need to lift out the cam and packing with a pair of pliers and remove the ball assembly. Then, use a small screwdriver or needle-nose pliers to remove the old seats and springs from the faucet body. Insert the new seats and springs into the holes and press them firmly into place. Next, insert the new ball assembly into the faucet body and align it with the slots. Finally, place the new cam and packing over the ball assembly and press them down.
- Reassemble the faucet. To reassemble your faucet, you need to reverse the steps you took to disassemble it. Place the cap over the cam and packing and tighten it with pliers or a wrench. Then, attach the handle and secure it with a screw or a set screw. Turn on the water supply and check for leaks or drips. If everything is working properly, you have successfully repaired your Delta faucet.
You can find more information about Delta faucet repair on their website or their blog. You can also contact their customer service team if you need further help.
How to Maintain a Delta Faucet
To keep your Delta faucet in good condition and prevent future problems, you should follow some simple maintenance tips. Here are some ways to maintain your Delta faucet:
- Clean your faucet regularly. Dirt, soap scum, mineral deposits, and other contaminants can build up on your faucet and affect its performance and appearance. To clean your faucet, you should use a soft cloth and a mild detergent or vinegar solution. Avoid using abrasive cleaners, scouring pads, or harsh chemicals that can damage the finish or corrode the metal parts. Wipe your faucet dry after each use to prevent water spots and stains.
- Replace the aerator periodically. The aerator is the part that mixes air with water to create a smooth and splash-free stream. Over time, the aerator can get clogged with debris or sediment and reduce the water flow or cause uneven spraying. To replace the aerator, you need to unscrew it from the spout and install a new one with the same size and flow rate. You can also clean the aerator by soaking it in vinegar or using a small brush to remove the dirt.
- Lubricate the moving parts occasionally. The moving parts of your faucet, such as the ball assembly, the stem unit, and the O-rings, can wear out or become stiff over time. To lubricate them, you need to disassemble your faucet as described in the previous section and apply a thin layer of silicone grease or plumber’s grease to the parts. This will help them move smoothly and prevent leaks or squeaks.
- Check for leaks regularly. Leaks can waste water and money and damage your sink or countertop. To check for leaks, you need to turn off the faucet and place a dry cloth or paper towel under it. Wait for a few minutes and see if there is any moisture on the cloth or towel. If there is, you may need to tighten the connections, replace the washers, or repair the faucet as described in the previous section.
By following these maintenance tips, you can extend the life of your Delta faucet and enjoy its performance and beauty for years to come.

