Contents
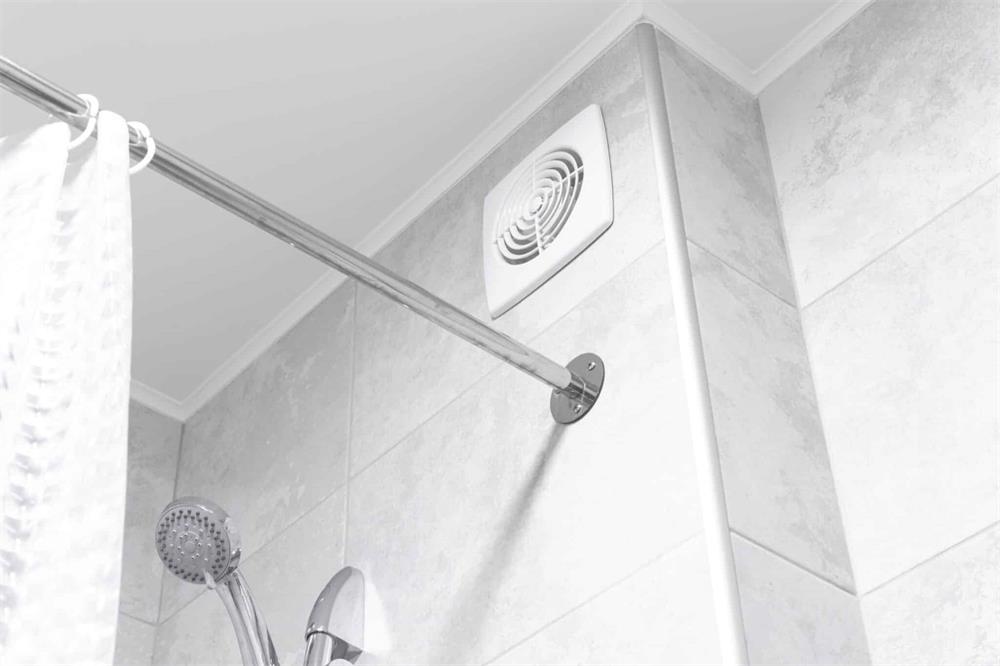
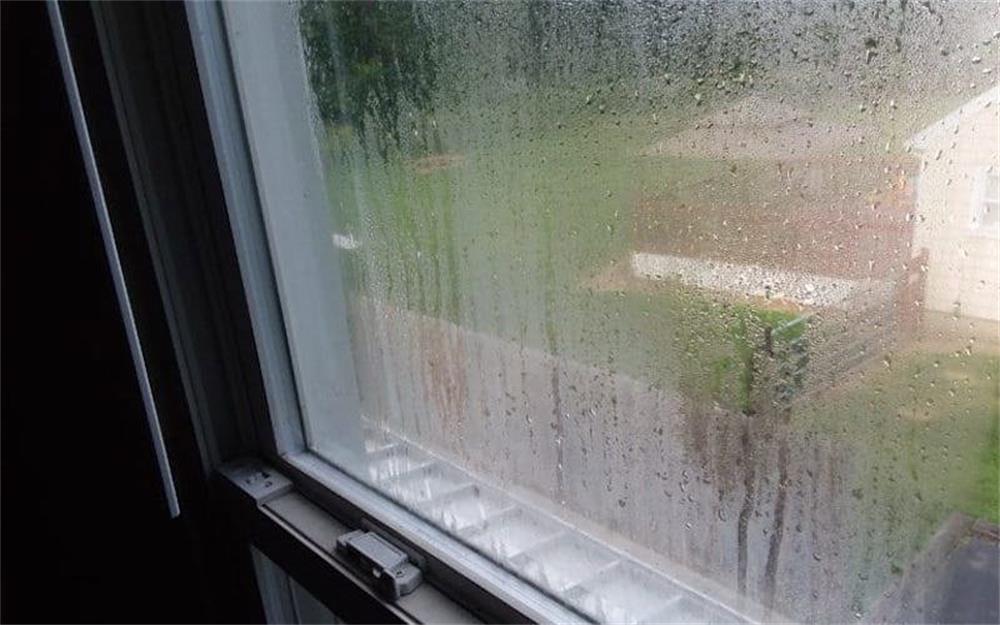
Bathroom ventilation is important for removing excess humidity and odors from the room. Too much moisture can lead to mold and mildew growth, which can damage your walls, ceiling, and trim. 1
There are different ways to ventilate your bathroom, depending on the building code requirements in your area. Building codes are guidelines that each community can adopt and modify according to its own needs. You should check with your local planning and permitting department to find out the specific code rules for bathroom fans in your area.
Here are some common code sections that relate to bathroom ventilation:
Windows
Some building codes allow you to use a window as a source of ventilation for your bathroom, instead of a fan. Section R303.3 of the International Residential Code (IRC) states that a window in the bathroom must have an area of at least 3 square feet (0.3 m 2 ), and half of it must be able to open. This means that the total open window space would be 1.5 square feet.
Windows can provide effective ventilation for bathrooms that do not have a shower or tub, as they produce less moisture. However, windows may not be enough for bathrooms that have bathing facilities, especially in cold or humid climates.
Fans
Some building codes require you to install an exhaust fan in your bathroom, regardless of whether you have a window or not. Section R303.4 of the IRC states that bathrooms must have mechanical ventilation that exhausts air to the outside.
Exhaust fans are devices that use a fan to suck out the moist and stale air from the bathroom and vent it outside through a duct. Exhaust fans can help prevent mold and mildew growth, as well as improve indoor air quality.
Venting Air
Some building codes specify how you should vent the air from your exhaust fan to the outside. Section M1507.2 of the IRC states that the air must not be discharged into an attic, crawl space, or other enclosed area of the building. Instead, the air must be sent outdoors through a wall or roof opening.
Venting air to the outside prevents moisture from accumulating in other parts of the building, which could cause structural damage or health problems.
Fan Capacity
Some building codes specify how powerful your exhaust fan should be, based on the size and use of your bathroom. Section M1507.4 of the IRC states that the fan must have a minimum capacity of 50 cubic feet per minute (cfm) if it operates intermittently, or 20 cfm if it operates continuously.
The cfm rating measures how much air the fan can move in one minute. The higher the cfm rating, the more effective the fan is at removing moisture and odors from the room.
You can also use this formula to calculate the recommended cfm rating for your bathroom:
cfm = (length x width x height x 0.13) / 60
For example, if your bathroom is 10 feet long, 8 feet wide, and 8 feet high, then:
cfm = (10 x 8 x 8 x 0.13) / 60
cfm = 83.2 / 60
cfm = 1.39
Therefore, you would need a fan with a cfm rating of at least 1.39 for your bathroom.
Here is a possible continuation of the article:
How to Install a Bathroom Fan
Installing a bathroom fan is not a very difficult project, but it does require some basic electrical and carpentry skills. You will also need to follow the manufacturer’s instructions and local code requirements for your fan model.
Before you start, you will need to gather the following tools and materials:
- Bathroom fan
- Ductwork and fittings
- Roof or wall vent cap
- Wire nuts and electrical tape
- Drill and hole saw
- Screwdriver and screws
- Hammer and nails
- Utility knife and scissors
- Safety glasses and gloves
Step 1: Turn Off the Power
Before you do any electrical work, you need to turn off the power to the bathroom circuit at the main breaker panel. Use a voltage tester to make sure the wires are not live.
Step 2: Cut the Opening
You need to cut an opening in the ceiling for the fan housing. The opening should match the size and shape of the housing. You can use the housing as a template to mark the outline on the ceiling.
Use a drill and a hole saw to cut a hole in the center of the outline. Then use a drywall saw or a utility knife to cut along the outline. Be careful not to damage any wires or pipes in the ceiling.
Step 3: Attach the Housing
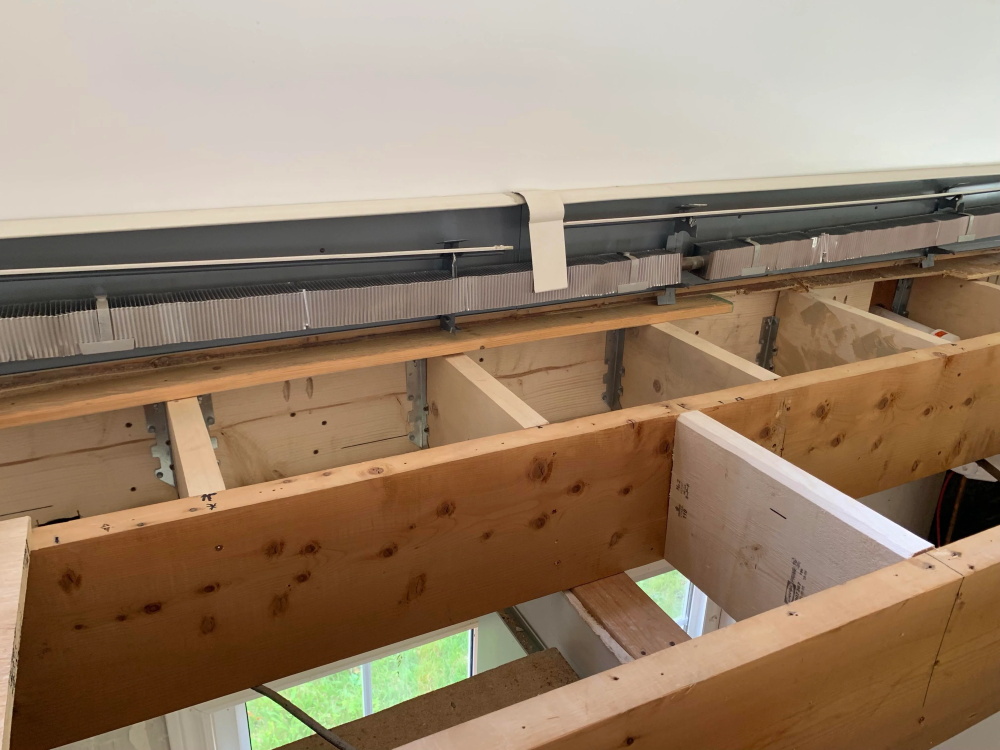
You need to attach the fan housing to the ceiling joists or rafters. You can use screws or nails to secure it in place. Make sure the housing is level and flush with the ceiling.
Some fan models come with brackets or hangers that make it easier to attach them to the joists or rafters. Follow the manufacturer’s instructions for your specific model.
Step 4: Connect the Ductwork
You need to connect the ductwork from the fan housing to the vent cap on the roof or wall. The ductwork should be as short and straight as possible, with no more than three 90-degree bends. The ductwork should also slope slightly downward toward the vent cap to prevent condensation from dripping back into the fan.
Use metal foil tape or duct mastic to seal all joints and connections. Do not use screws or nails, as they can create gaps or punctures that allow air leakage.
Step 5: Wire the Fan
You need to wire the fan to a switch or switches that control its operation. Depending on your fan model, you may have one switch for both the fan and light, or separate switches for each function.
For a fan and light switch with existing wiring, splice the white wires and connect the grounds securely with wire nuts. Connect power to both switches through two pigtails spliced to the feed wire. Connect the red wire to one switch terminal and the black wire to the other terminal. Connect each switch’s other terminal to its corresponding wire in the fan housing¹.
For a new switch installation, you will need to run a new cable from the switch box to the fan housing. Follow your local code requirements for cable type, size, and routing.
Step 6: Install the Grille
You need to install the grille or cover over the fan housing. The grille usually snaps or screws into place. Make sure it is secure and flush with the ceiling.
Step 7: Turn On the Power
After you have completed all connections and installations, you can turn on the power at the main breaker panel. Test your fan and light switches to make sure they work properly.
Enjoy your new bathroom fan!

